River Rock Breakdown
This gallery is a breakdown of the River rock work I did for The Last of Us: Part 1. I go in-depth over my workflow to generate my Substance graphs for the work on this page. At the very bottom, I attached @Jonathan Benaninous and I's GDC talk, which goes a little more in-depth. I also included some new content not part of the talk!
For the level, Alongside my modeler, Anthony Vaccaro we took this level from start to finish. The work I did consisted of texturing, sculpting quite a few rocks, creating shaders, all blend work and application of the shaders, uv’ing, And additional modeling work. As always video games are a team effort, a lot of textures and assets are from throughout the game. Thank you to the various other artists on the Naughty Dog team!
-Environment Art: Anthony Vaccaro
-Environment Texture: Jared Sobotta
-Wides: Leonard Williams
-Level Lighting artist: Val Sinlao
-Cinematic Lighting: Jeffrey Lee, Haley Jones, Quentin Frost
-FX: Taylor Duval
-Scripting: Phong Trinh, Andrew Frost
-A very special thanks to our awesome foreground team for all the bumpables, destruction, and much more!
-A big thanks to tech art and programming for their imperative work wrangling us artists in, and keeping things running so smoothly. We couldn't ship these types of games without your dedication and knowledge.
-QA: Richard Cottrell
-Visibility: Ashleigh Dale
-Production: Mariah Morris, Zach Gonzalez
-Graphics: Hailey Del Rio and our entire graphics team
-Our fantastic outsource team as well as all of our vendors!

Next up are the River Rock materials I did for The Last of Us: Part 1
Here is a quick video of one of the river Shorelines. Using 2 tileable textures and some geometry prototypes I was able to get a nice outcome.
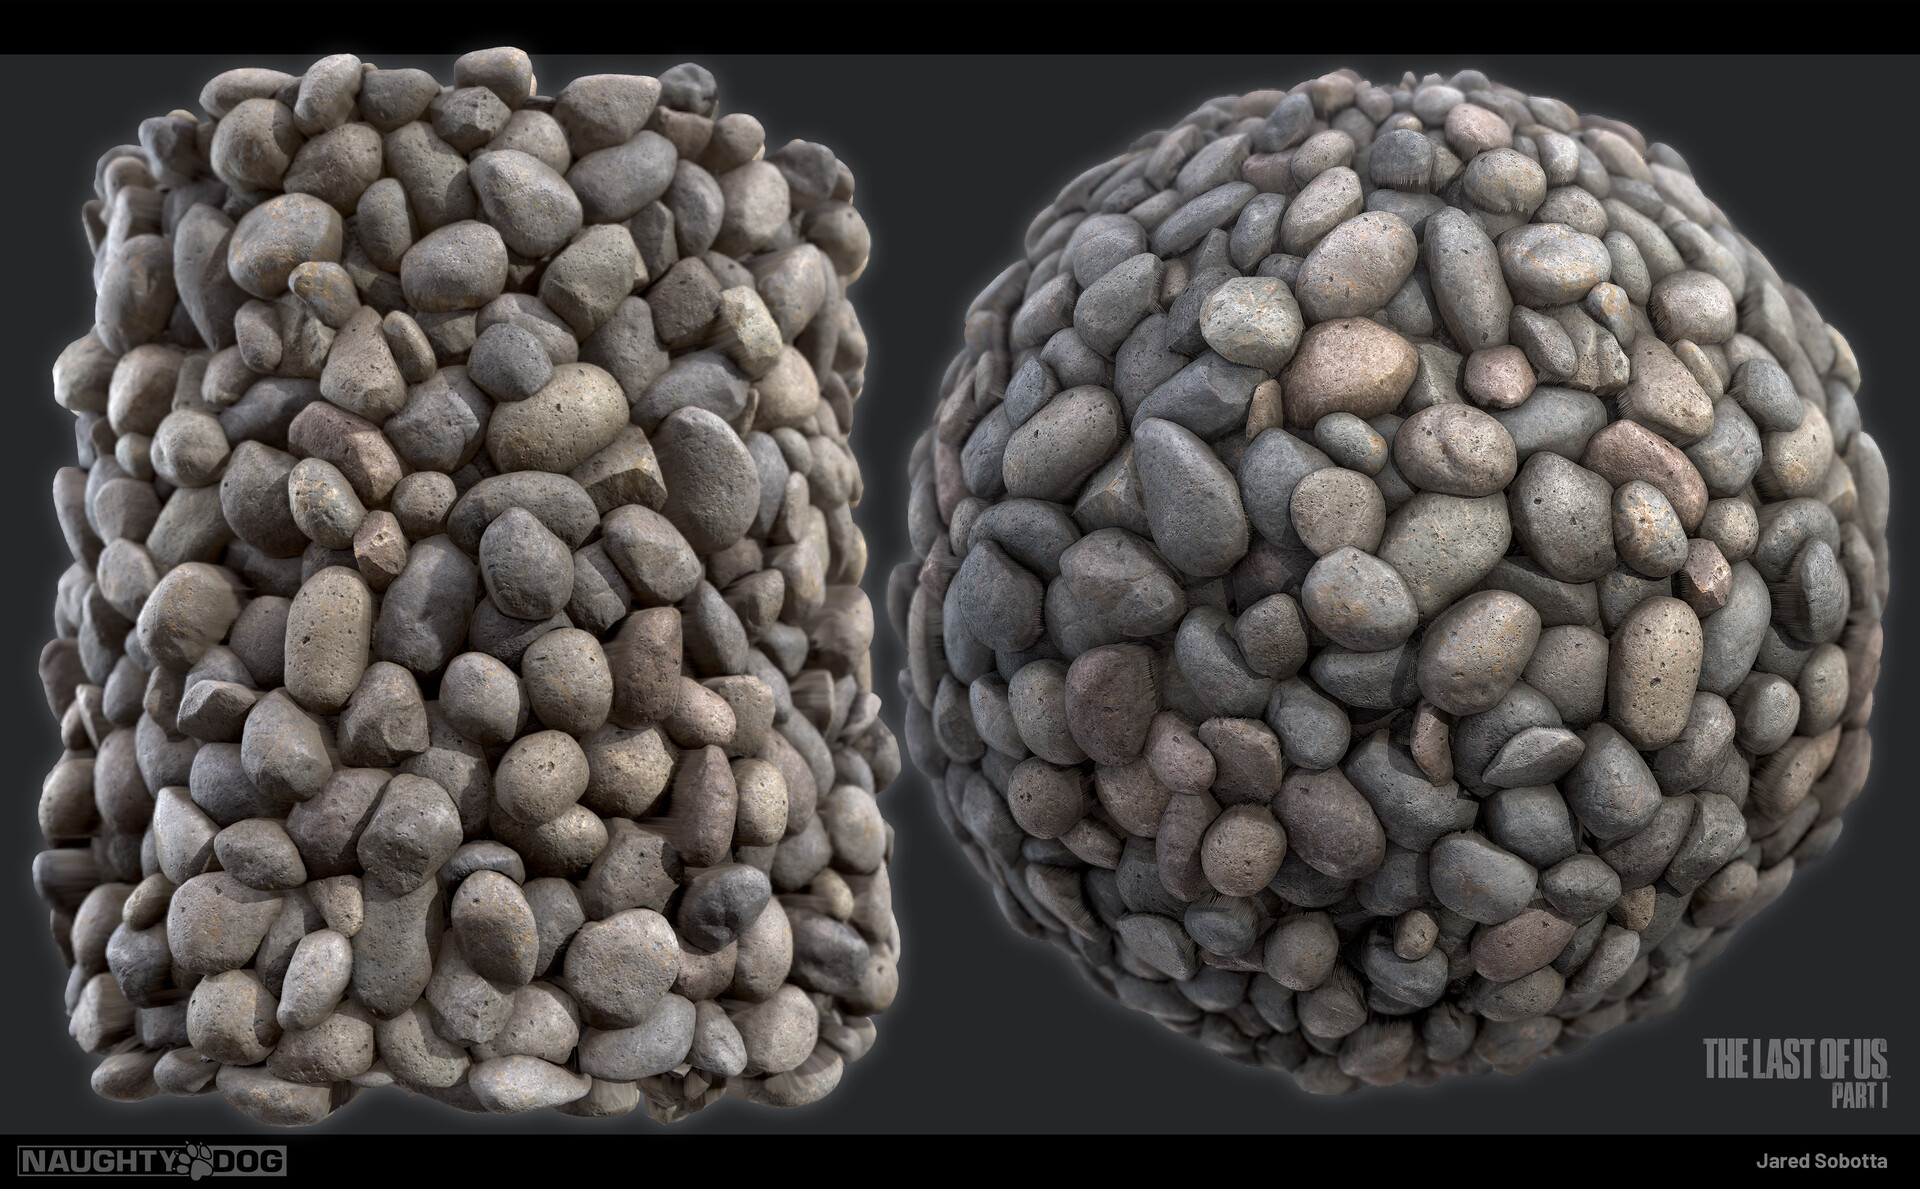
Let's focus on the Large River Rock creation first!
In this video, I show how I quickly turn a zsphere into a river rock. Brushes: Move, Crumple with RGB off, and Trim Dynamic. I use Crumple/Trim Dynamic for organic shaping and softness. Then I use Noise to get some surface detail, and voila!
Next is the layout phase in Zbrush. I'm using the traditional deformation tab + offset to move these around. We also have our own tools at Naughty Dog to help with layout.

Here you can see the finished sculpt. The polygroup edges represent where it will be tiling. Be sure to keep this meticulous for best results!

Here you can see I made a polypainted/polygroup mask to bake out an ID mask. Pay close attention to all of your subtools to get this right. We also have tools for automated multi-value greyscale assignment per subtool.

Here is a shot in substance showing my ID Mask setup

Now onto texturing in Substance Designer. Working between these two programs is one of my favorite parts of the job. I love sculpting, I love Substance, a perfect marriage.

Here you can see a gif of my Height additions illustrated in the normal map. As you can see it's just small-scale detail. Some BnW Spots 2 and a dirt noise to get some nice Pock marks.

The Albedo is completed 100% in Substance Designer. I start by taking my ID Mask above and assigning some random colors to my stones. Keep the values/saturation consistent and be cautious of tiling at this scale.

Step 2: I begin to layer in some more of the larger-scale color detail like the banding you see in this gif.

Finally I finish this thing up layering in the fine detail and some unifying elements like an AO Crevice Dust. I have the same AO/Dust layer in all my materials to keep the cohesive and grounded in the environment!

I did a fun little re-render here for the final outcome in Marmoset!
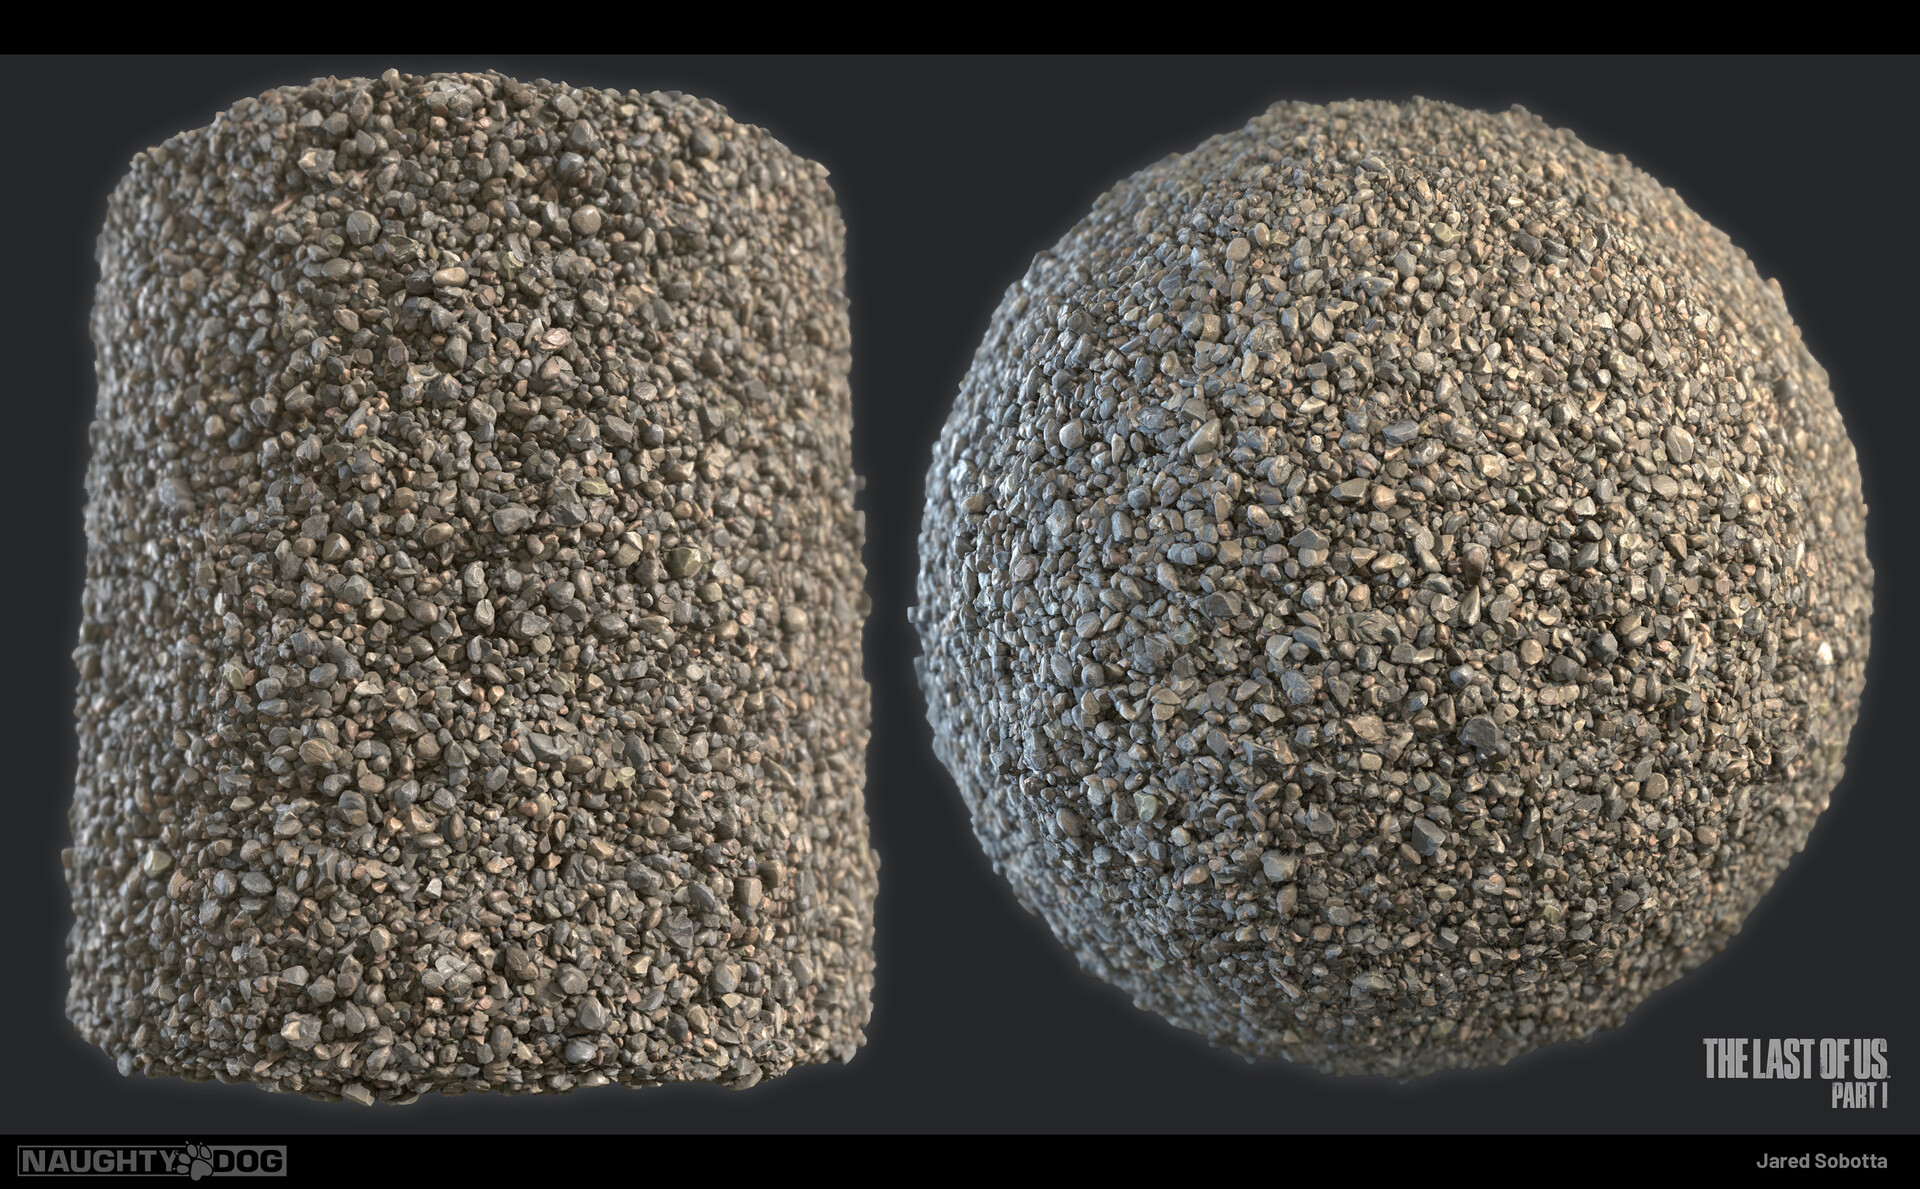
Alright, let's move onto the Small River Rocks!

To start this process I created two atlas's to be used inside of substance designer out of my previously sculpt rock kit. This image shows both a smooth and sharp atlas above. I can use this in Substance alongside shape splatter/Atlas scatter.
Here is a video showing the creation of my Atlas in Zbrush. I'm just using an insert brush with my sculpts to create a Nanomesh brush. This video is sped up quite a bit, but hopefully it makes sense! Make sure none of your rocks are overlapping!

Alright, let's get to it in Substance Designer!

Step one I'm taking my bakes into Substance. All I need at this stage is a Height and Opacity. Flood fill will do the rest for an ID Map. I'm copying the small detail from my Large river rock material into this file and adding it to my atlas, Reuse!

Here is a quick gif showing the Setup

Using the same techniques as the Large River rocks, I texture this thing up! Flood Fill is your best friend here.

Next let's move onto the meat and potatoes. I use a series of 7 Atlas Scatter nodes to scatter my Rocks on the Canvas! Working from largest to smallest shapes, back to front.

You can see I start with a background height (this is a mud material I made you will see in the Erosion post) I then Start Scattering my rocks. Be sure to utilize the height controls in Atlas scatter

The same breakdown but as a normal map!

Finally, the color. Starting with random dirt color for the background, I start layering in the color in Atlas scatter. Atlas scatters color controls are super handy for this! Again you'll notice the unifying AO Dust at the very end!
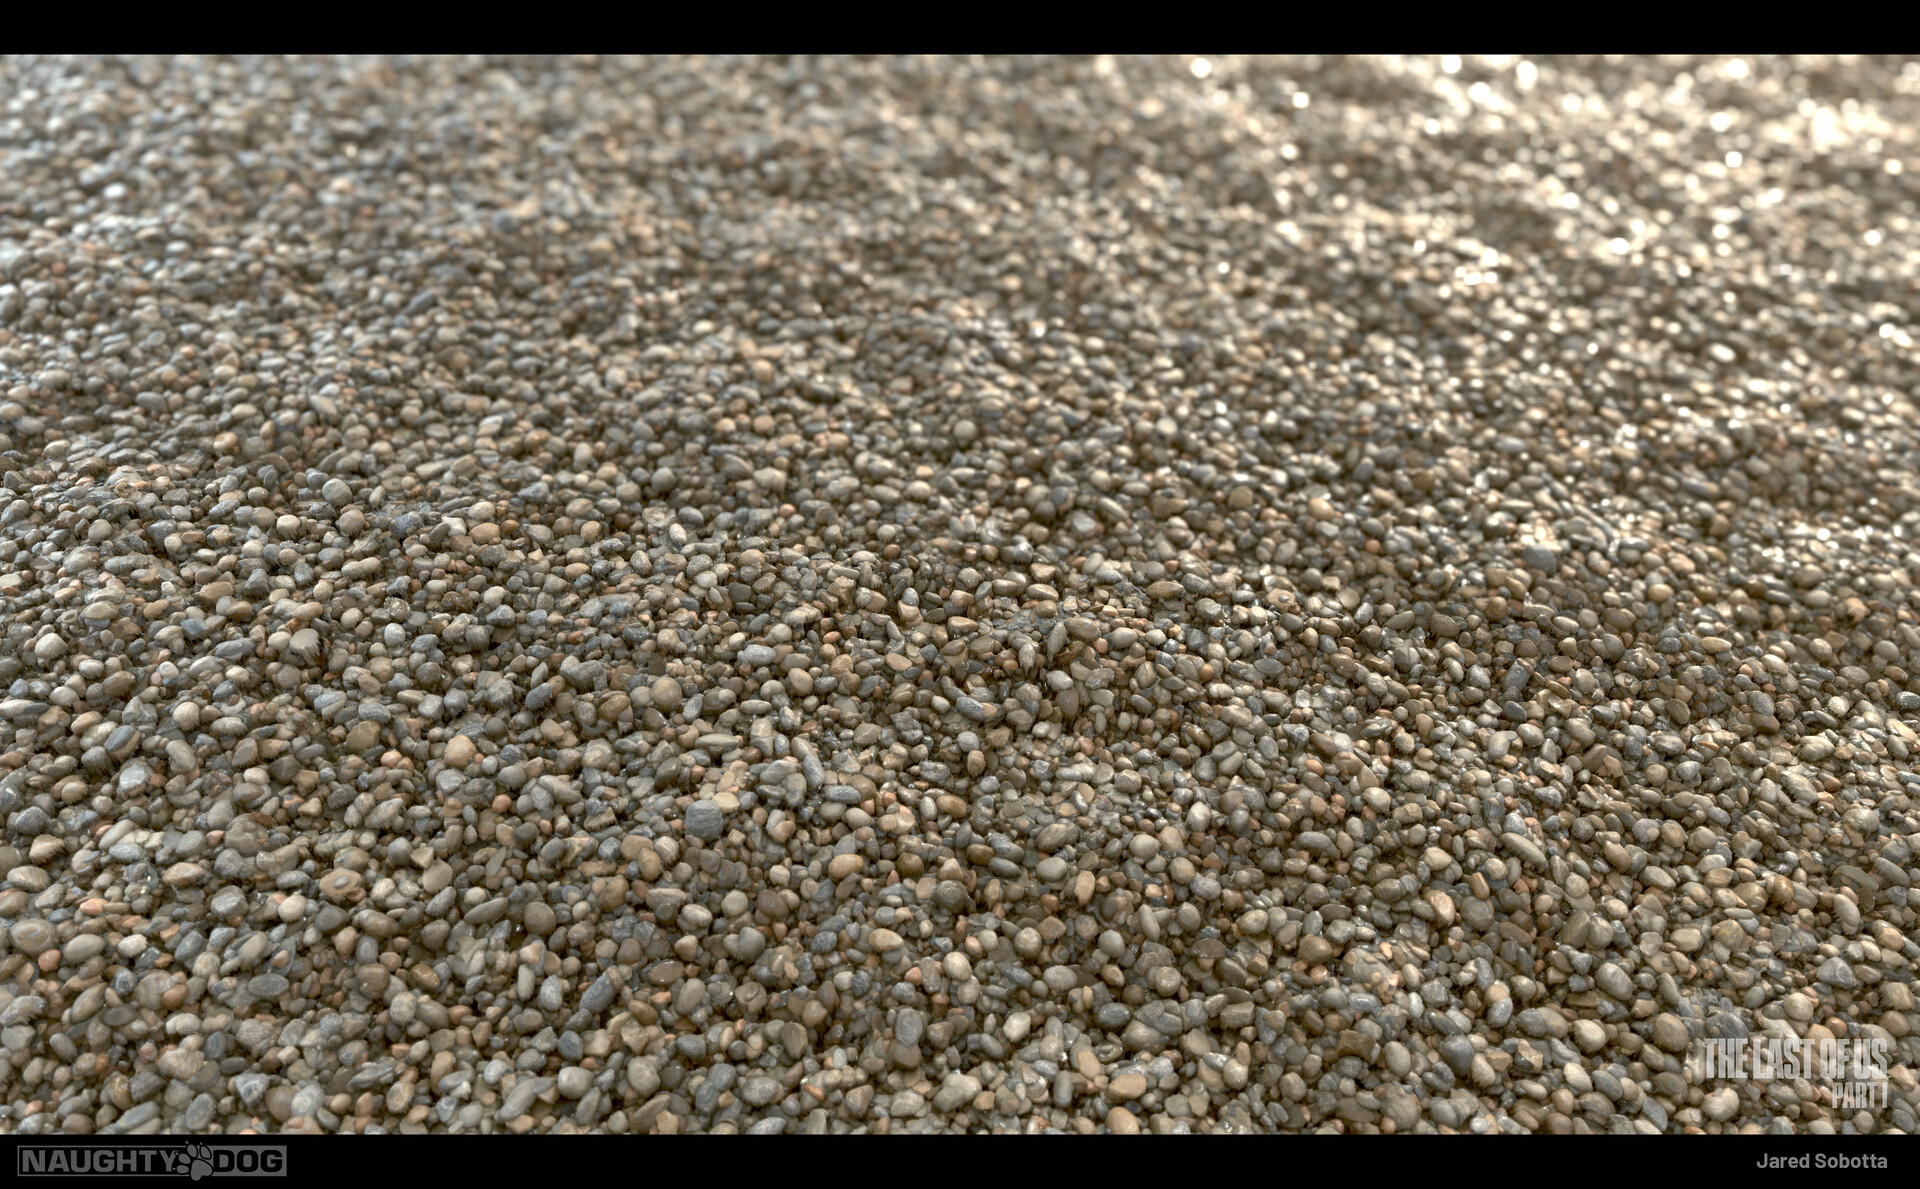
And here is the outcome in Marmoset!
The base layer is the small river rock, when I blend the large river rock it looks like I'm raising the stones up between the smaller variation for a more realistic look. Dirt, mud, moss, and wetness are also present in this video as well as some parallax

Lastly, since we can't use tesselation everywhere, I also made some small river rock prototypes! Here is a video showing the depth they create

Here are the low-poly mesh in zbrush prior to baking. The goal is to take these and match my Large river rock textures. You could use Substance Painter or Designer for texturing

I used Substance painter and just re-used the Graph for colors. FloodFill will get you the random colors here. I also used Painter to clean up the seams on the 3d versions

And here you have it, 3 sets on the bottom lined up horizontally and some adjustable clusters to place! Thank you for taking the time to read through this, if you did :)

Finally, the in-game outcome
And Finally here is the GDC talk @Jonathan Benainous and I did for the game! Check it out here for more about the content above.