Erosion Breakdown
This gallery is a breakdown of the Erosion work I did for The Last of Us: Part 1. I go in-depth over my workflow to generate my Substance graphs for the work on this page. At the very bottom, I attached @Jonathan Benaninous and I's GDC talk, which goes a little more in-depth. But the second erosion breakdown is a new subject matter I haven't posted before!
For the level, Alongside my modeler, Anthony Vaccaro we took this level from start to finish. The work I did consisted of texturing, sculpting quite a few rocks, creating shaders, all blend work and application of the shaders, uv’ing, And additional modeling work. As always video games are a team effort, a lot of textures and assets are from throughout the game. Thank you to the various other artists on the Naughty Dog team!
-Environment Art: Anthony Vaccaro
-Environment Texture: Jared Sobotta
-Wides: Leonard Williams
-Level Lighting artist: Val Sinlao
-Cinematic Lighting: Jeffrey Lee, Haley Jones, Quentin Frost
-FX: Taylor Duval
-Scripting: Phong Trinh, Andrew Frost
-A very special thanks to our awesome foreground team for all the bumpables, destruction, and much more!
-A big thanks to tech art and programming for their imperative work wrangling us artists in, and keeping things running so smoothly. We couldn't ship these types of games without your dedication and knowledge.
-QA: Richard Cottrell
-Visibility: Ashleigh Dale
-Production: Mariah Morris, Zach Gonzalez
-Graphics: Hailey Del Rio and our entire graphics team
-Our fantastic outsource team as well as all of our vendors!

Again I have the same image here from Tommy's-Dam. In this breakdown, we're going to discuss Erosion and how we built out the Level utilizing prototype mesh with the terrain geo as well as Rocks!

Let's start by breaking down this little chunk of Tommy's-Dam.

Here is a little vignette version of the previous image.

The parts highlighted in blue represent the terrain geo. The rest of the assets are all separate instanced assets placed in the level by @Anthony Vaccaro.

Here is an example of some of the mesh prototypes that were used throughout the level to build out the eroded embankments. Credit to Anthony Vaccaro for modeling out most of these assets.

These also utilize a 1 to 1 bake multiplied down the layers of the material. Here is an example sculpted by Anthony Vaccaro
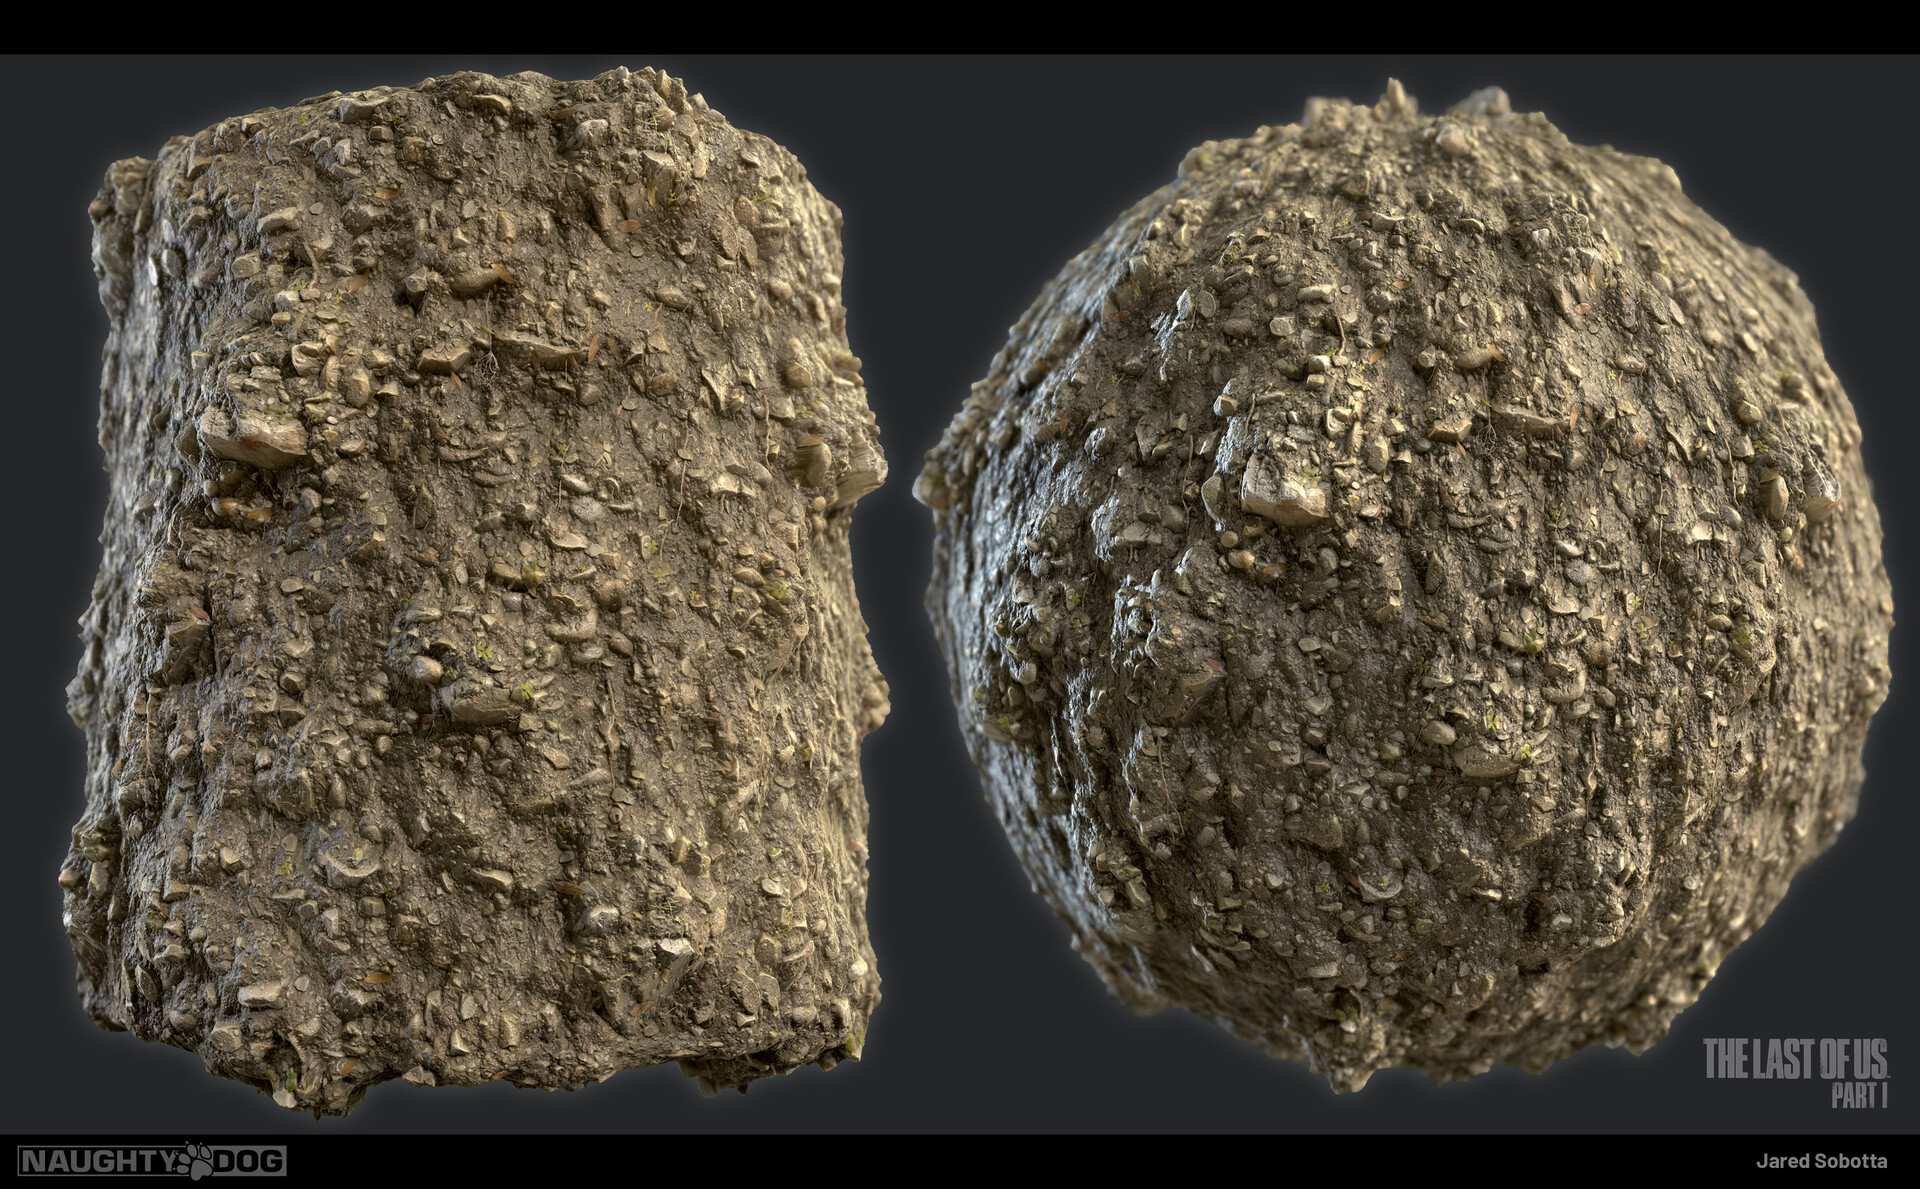
Alright, Let's start with the frist Eroded Earth material I made here. This material works great for simulating a landslide, I wanted to keep the rocks cohesive with my river rocks in my previous posts, so I started with using those!

Here is the group of small/mid-sized river rocks I sculpted for Tommy's Dam
Using the Rocks above I start by laying out the Largest rocks on my canvas to setup my tiling sculpt. Always working from Largest to smallest I start layering in Rocks, and sculpting the plane with "WrapMode" on. Constantly check in 2.5D for tiling.

Here's the final sculpt, let's derive at least a simple ID Mask. You can see here my largest rocks are all separate, the smallest rocks I let it do automatically. We can make this better with Flood Fill in Substance Designer.

See my previous post about River Rocks to understand how I use my Zbrush bakes In Substance Designer! With our Height and Rock/Dirt ID mask we're ready to go!

These are our maps on the left, First thing I do is make any edits I need to the stones, then I add some small-scale detail to the dirt. Quickly adding surface detail in Substance designer instead of sculpting it in Zbrush.

Next step is using my River Rock Atlas with Shape Splatter to add some more small rocks/pebbles. The mask/color on the right shows just how many rocks I'm adding to my material in Substance Designer. Shape splatters Height Controls are very helpful here!

This gif goes over the above and beyond from start to finish. Notice I'm just adding dirt detail, then a boatload of little stones, and finally the finishing touches we'll go over next.

The last chunk of the graph is a series of Atlas Scatter nodes. This instance I'm adding some roots I sculpted. Refer to the River rock breakdown for this workflow! I then use some more sculpts, and some scans to add more detail.

Here is the base color generation. Pay attention to the final frames to see where I use Atlas Scatter to add in those extra details. The process here is exactly the same as the River Rock I posted previously for generating color!
And here you have the outcome being blended on our Eroded Embankment. I start with a base dirt and blend in the Eroded embankment. I also have Moss, gravel, and some other layers to bring this together. The moss really unifies this all together!

Here is a fun shot looking up at some of the runny, wet eroded embankments

And finally, the outcome in Marmoset!
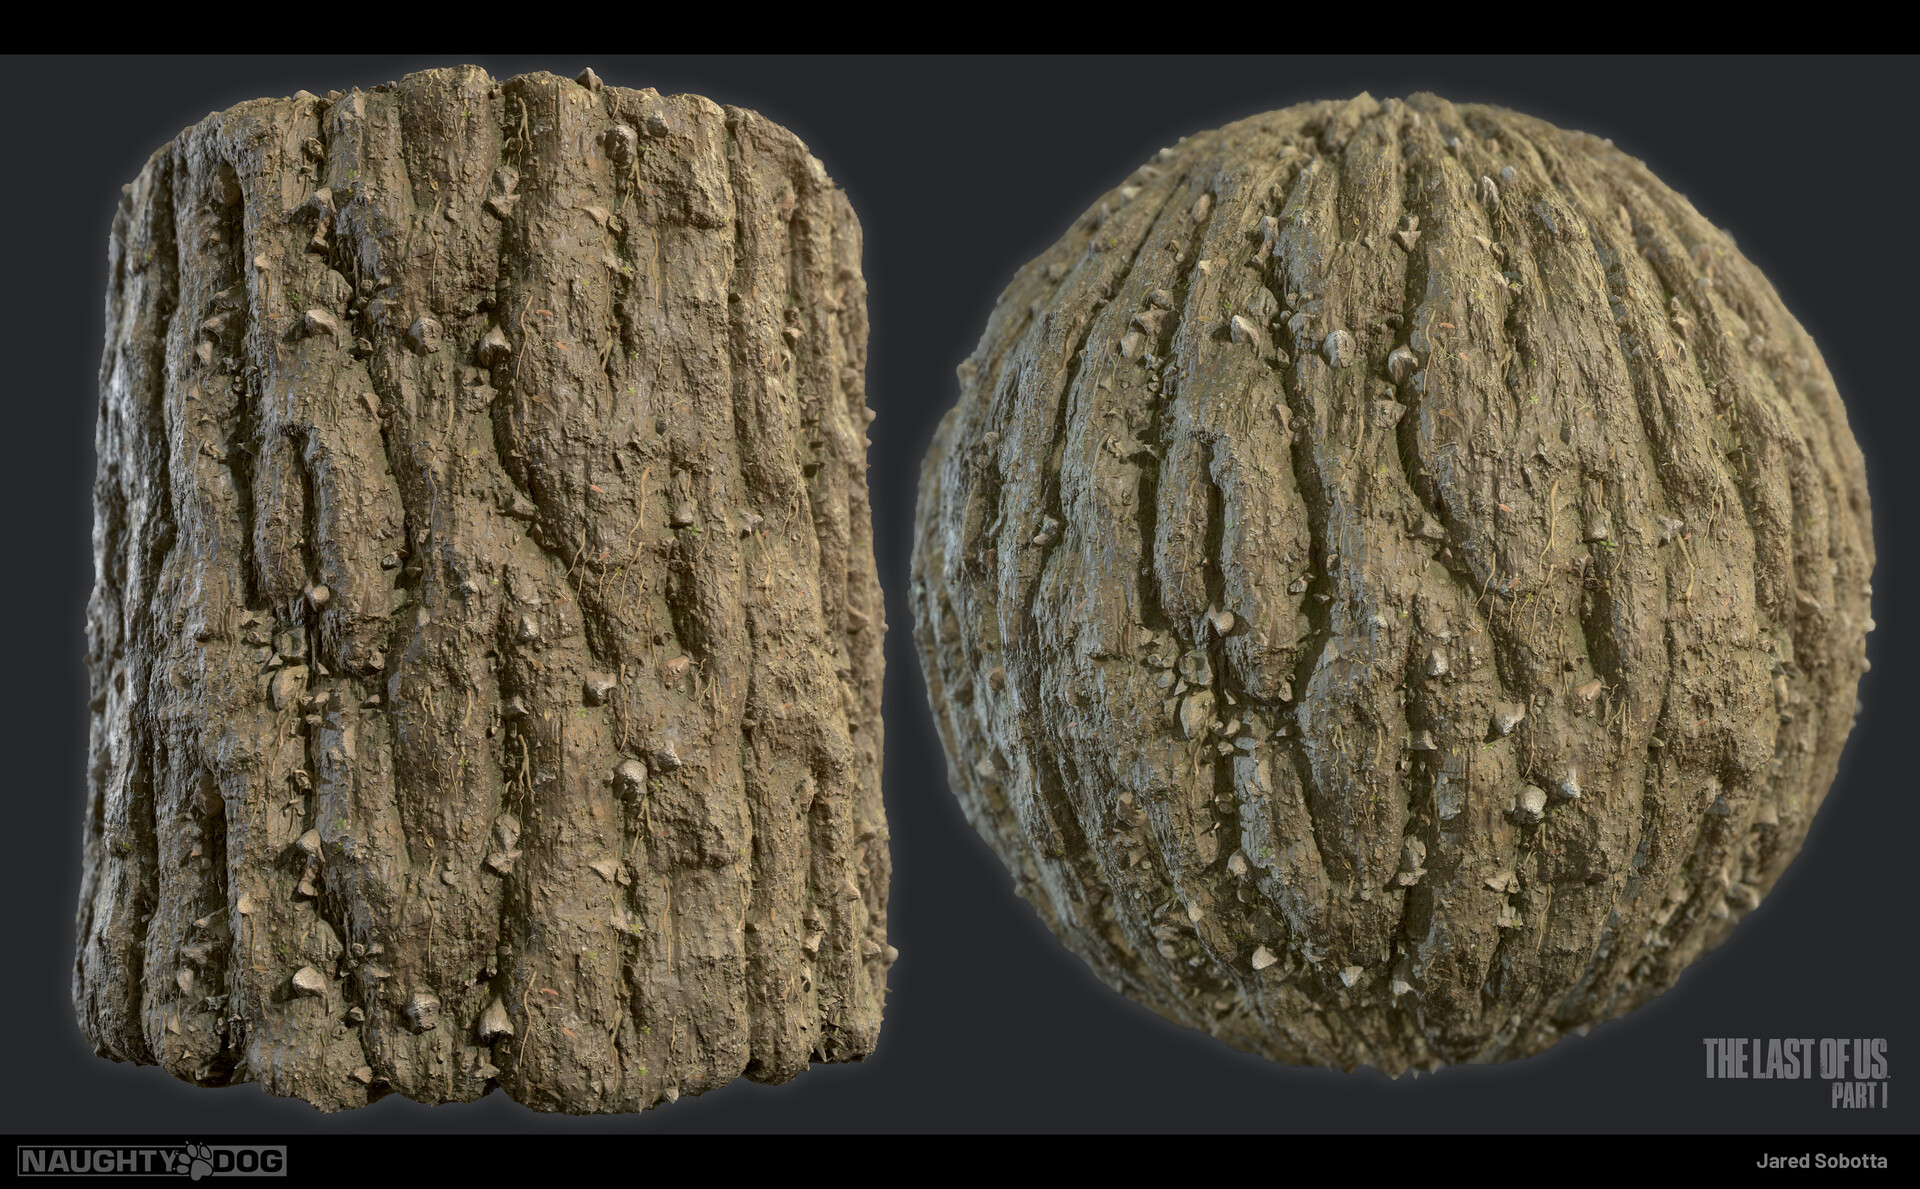
Alright, let's move on to the large forms landslide material.

Here is an ingame shot of the Landslide shapes forming these large deep channels in the game. I wanted to capture the really thick Erosion lines, the texture alone couldn't do this so I used the height map to displace the terrain and create a new mesh.

Here is a shot of the initial shape for the channeling, Sculpted in Zbrush quickly. I also created this roots atlas to to be used in this texture. I created this with Fibermesh and some quick sculpting

This material is heavily edited in Substance. The most important additions are the extra detail, non-uniform blurred to simulate directional erosion. Otherwise, it's rinse and repeat from the previous workflow! Layer in that chunky detail!

For the Albedo I'm starting with a gradient background color sampling real-world values. Then we start layering in detail. I added some grass/moss detail near the end to simulate that the Landslide happened a while ago and foliage is growing back on top.
In Maya, I start with Erosion-A as my base layer, and start painting in Erosion-B. Once I have Erosion-B painted I use Displacement to generate the new mesh. Then I can go in and paint in dirt/mud/debris and finally Moss to unify it all together.

And a quick wireframe if you're into that. You can kinda see the displaced geo in the middle on the bottom of the image

Another shot in the game looking at this chunk of landslide from the side.

The final material tiling in Marmoset
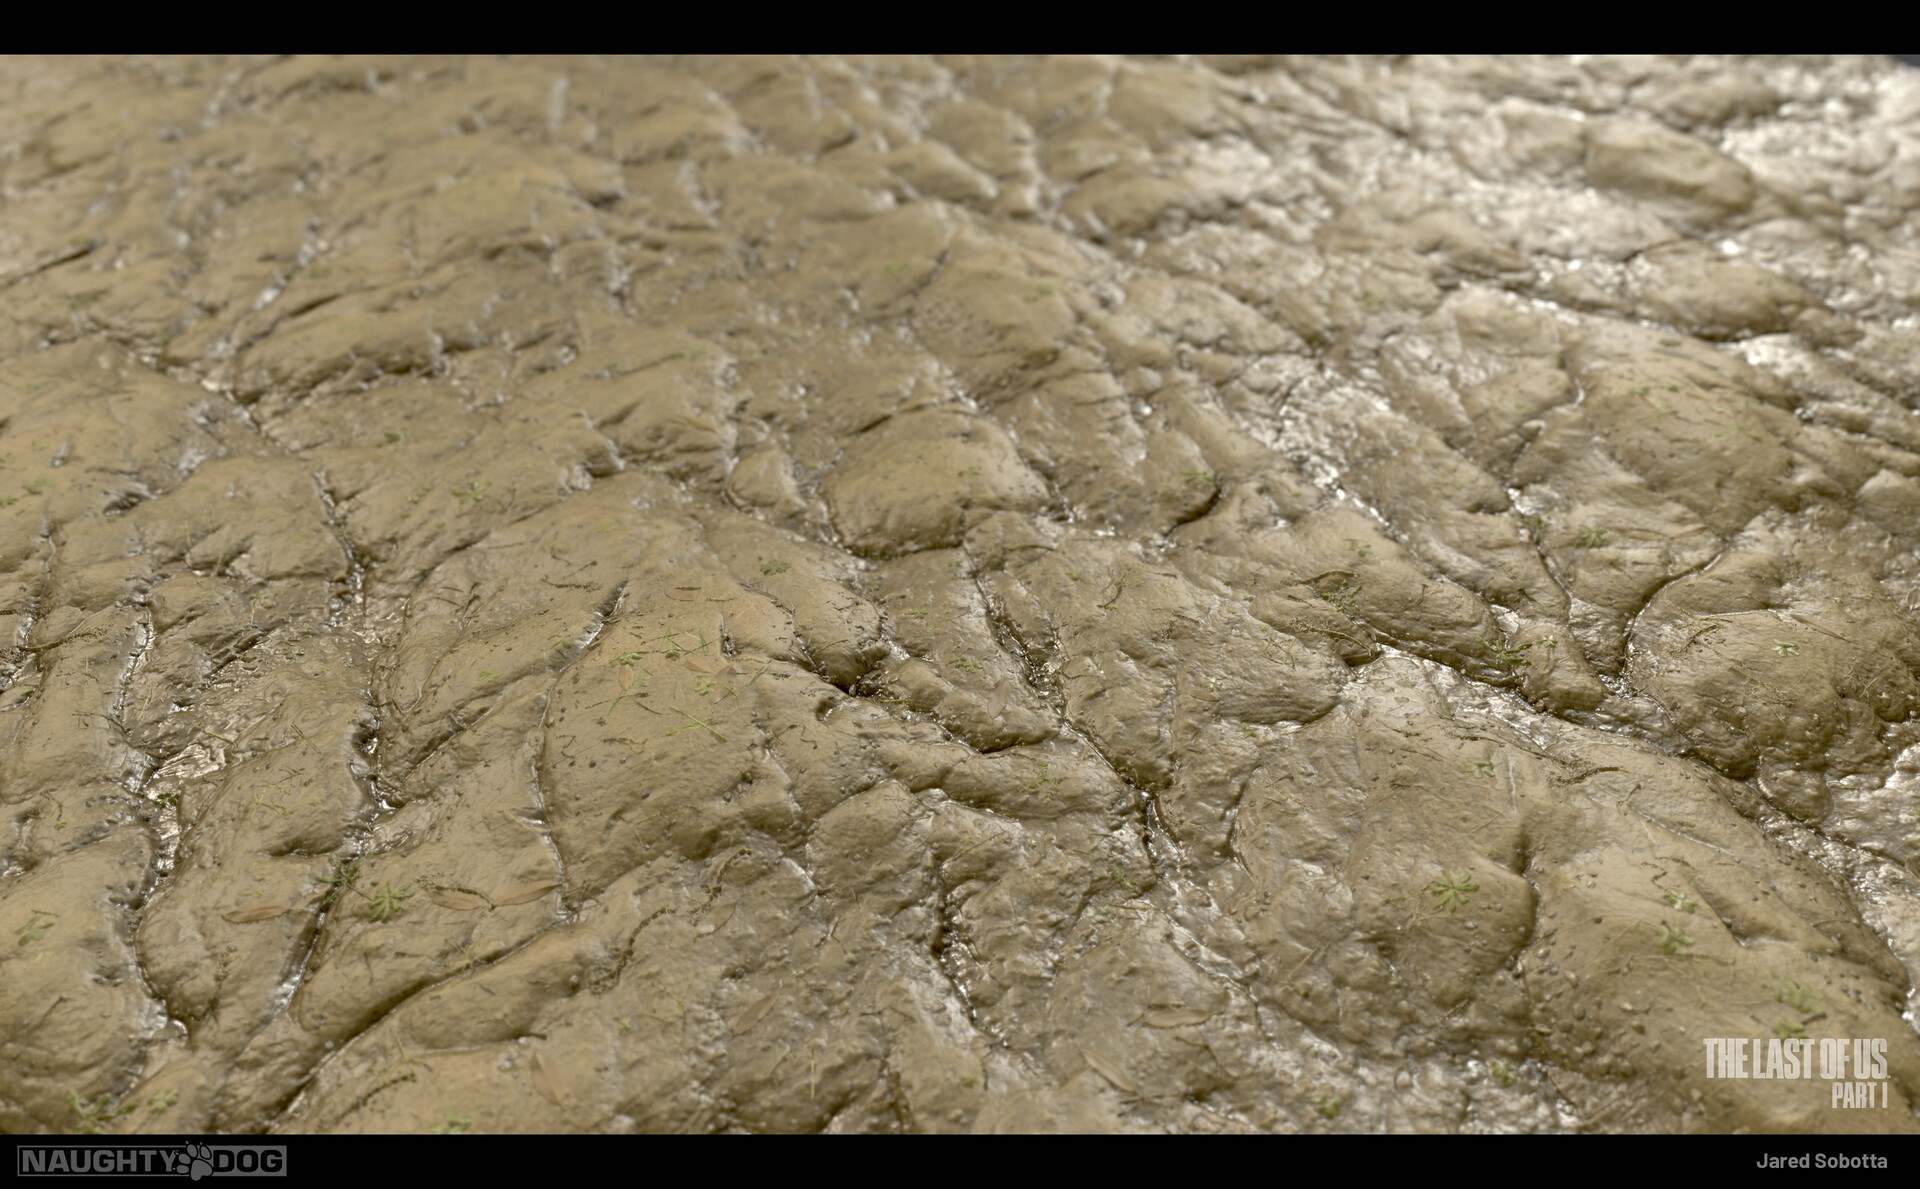
Here is a channeled Mud texture, I also use parts of this graph/material in others for the mud/channeling detail. I can even adjust the Uv's In the material and use this as a larger scaled paintable erosion for the terrain. Always think of ways to reuse!
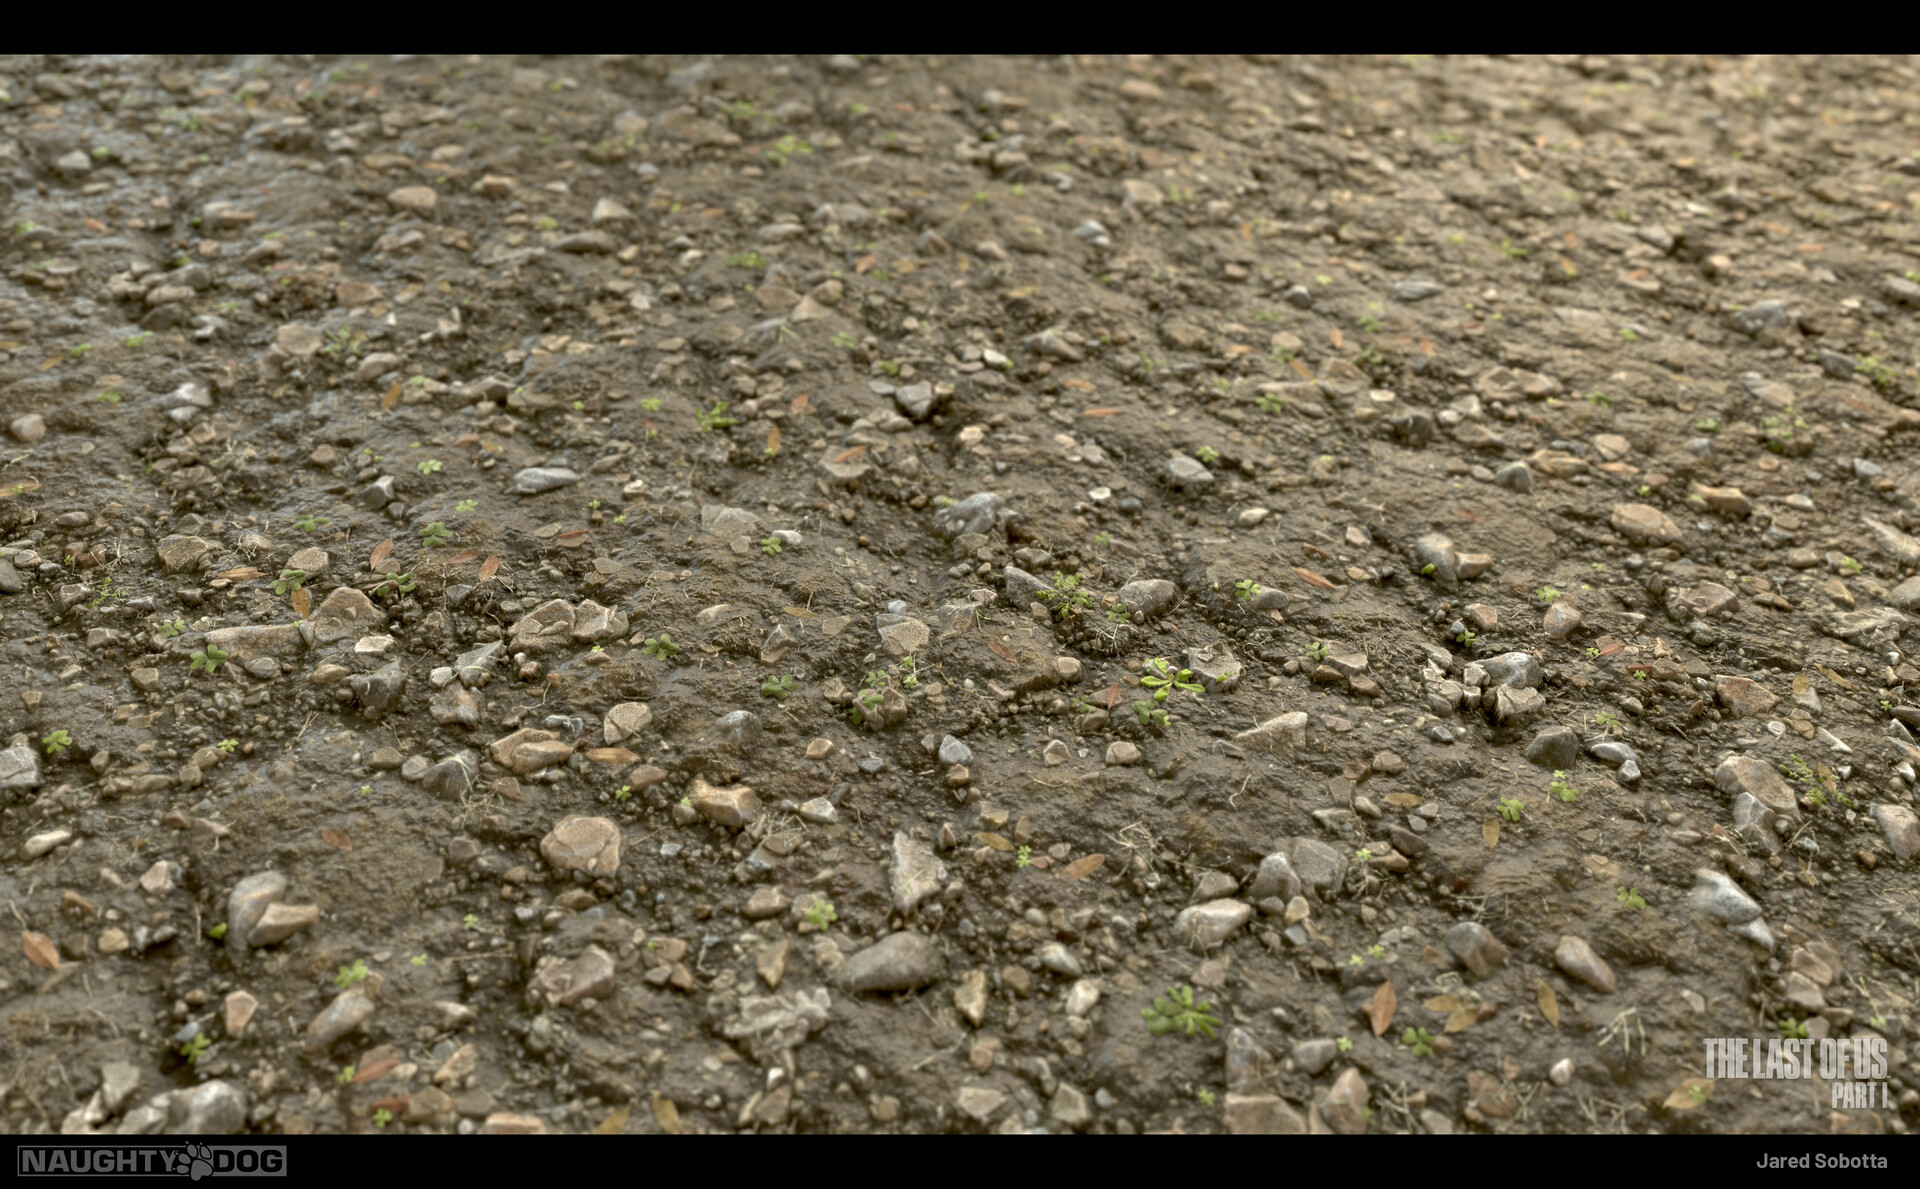
Lastly this is the texture at would be at the bottom of the Landslide. My thought was all of the mud, dirt, rubble has rolled down to the bottom and I have gritty mud/dirt/rocky soil. Notice I'm adding the ground plants to these textures to unify them.
And Finally here is the GDC talk @Jonathan Benainous and I did for the game! Check it out here for more about the content above.