Rock Breakdown
The following is a breakdown of the rock assets I made for The Last of Us: Part 1. This is the level Tommy's Dam. Shout out to Anthony Vaccaro who also sculpted some of the rocks in this album and took this level from start to finish. At the bottom is the GDC talk @Jonathan Benainous and I did for the game! Check it out here for more about the content above.
For the level, Alongside my modeler, Anthony Vaccaro we took this level from start to finish. The work I did consisted of texturing, sculpting quite a few rocks, creating shaders, all blend work and application of the shaders, uv’ing, And additional modeling work. As always video games are a team effort, a lot of textures and assets are from throughout the game. Thank you to the various other artists on the Naughty Dog team!
-Environment Art: Anthony Vaccaro
-Environment Texture: Jared Sobotta
-Wides: Leonard Williams
-Level Lighting artist: Val Sinlao
-Cinematic Lighting: Jeffrey Lee, Haley Jones, Quentin Frost
-FX: Taylor Duval
-Scripting: Phong Trinh, Andrew Frost
-A very special thanks to our awesome foreground team for all the bumpables, destruction, and much more!
-A big thanks to tech art and programming for their imperative work wrangling us artists in, and keeping things running so smoothly. We couldn't ship these types of games without your dedication and knowledge.
-QA: Richard Cottrell
-Visibility: Ashleigh Dale
-Production: Mariah Morris, Zach Gonzalez
-Graphics: Hailey Del Rio and our entire graphics team
-Our fantastic outsource team as well as all of our vendors!

Alright, Let's kick this thing off. This is the full set of rocks Anthony and I used to create the Tommy's Dam Level. These range from very large cliffs to small river rocks in scale.

Here are the sculpts for some of the rocks I posted previously. I used these Hi-Poly mesh for 1x1 Macro normals for our rocks. I baked these down and multiply/overlayed Normals and Cavity information down the layer stack in the final shader.

Here is a look at the large, medium, and small rocks/boulders textured in game. All the rocks are using 1-3 tiling rock materials, lichen, grunge, and moss inside of the shader to get this look. You can swap layers in the shader for debris as well!

Some closer-up shots of 2 boulder sculpts. The fidelity I was going for mainly was the largest scale shapes. I left the small/micro detail completely up to the tileable textures

Another trick I used was this singular Rock formation split into 5 chunks. See the chunks at the bottom. I can assemble them into one large asset, or break it down into many different assets with 6 usable sides for 5 different rocks!
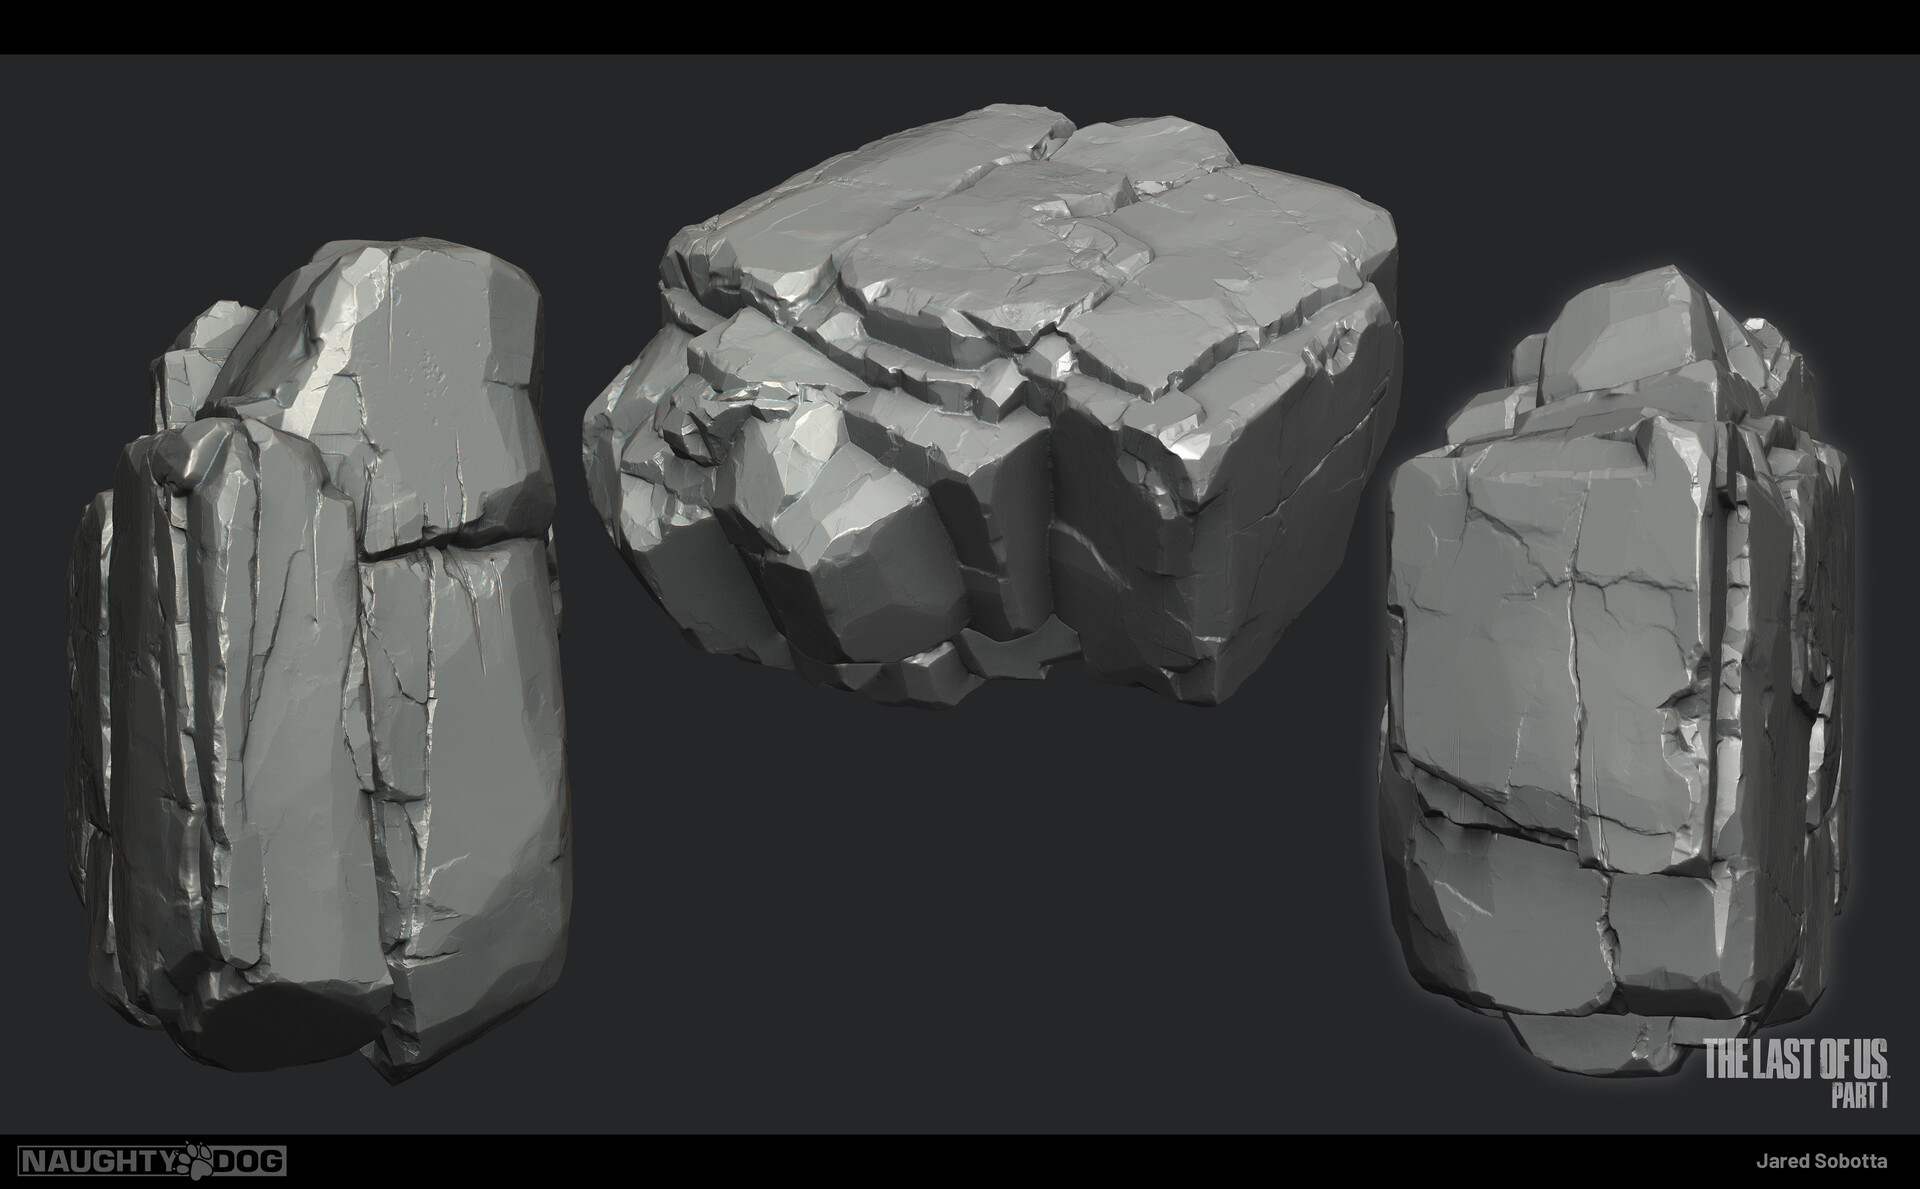
This is the High-Poly sculpt for 1 of the chunks from the previous image. As you can see simply rotating it gives you drastically different looks on each side. Couple this with Booleans or jamming them together and you get infinite possibilities.
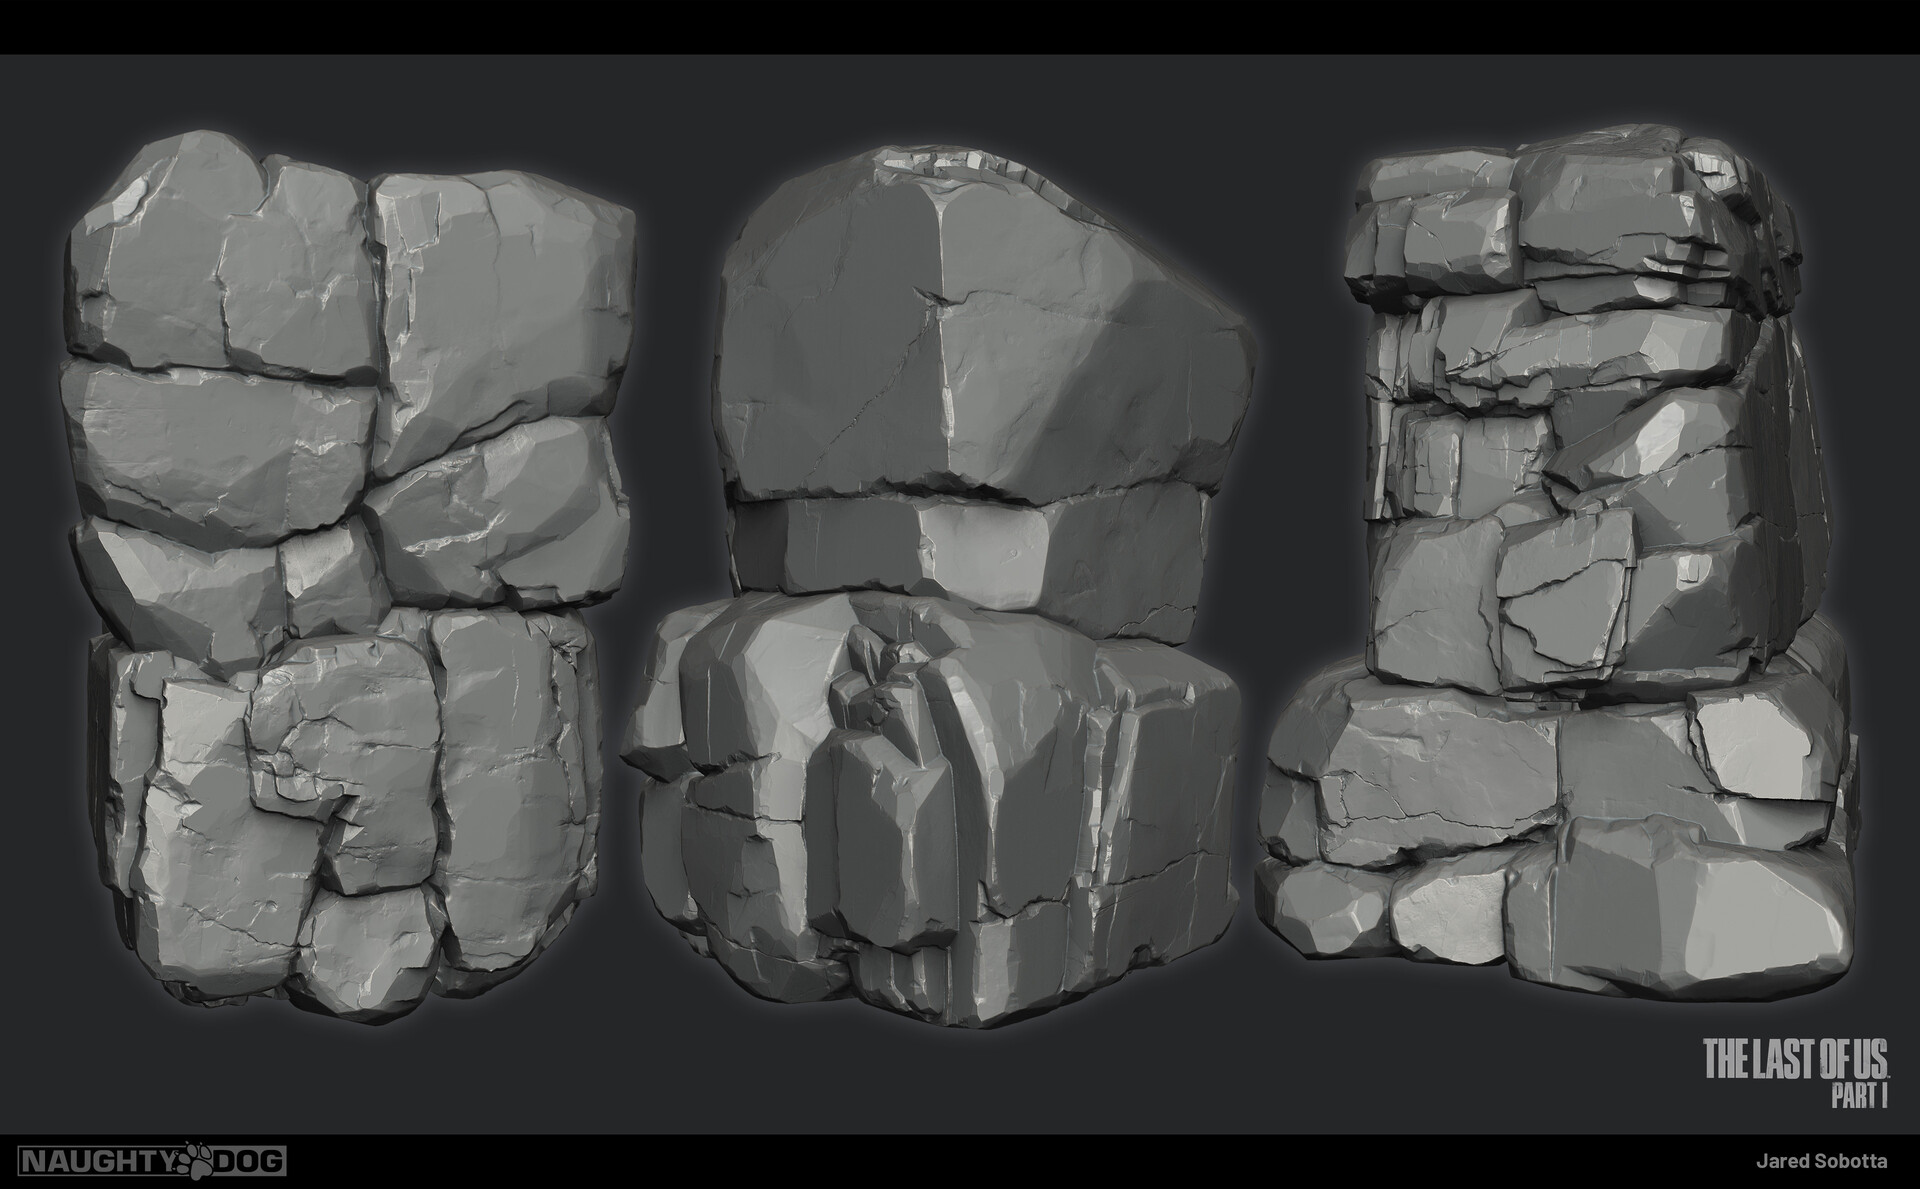
Another example of the sculpt using a few pieces for different looks

Here is the sculpt combined together. The previous image shows the one rock chunk, see if you can spot which piece it is, you can see it from two angles.

Here you can see the smallest rock clusters used for the river rocks! These are also posted in some previous posts on how I used them. Check out the River-Rock post for more information!
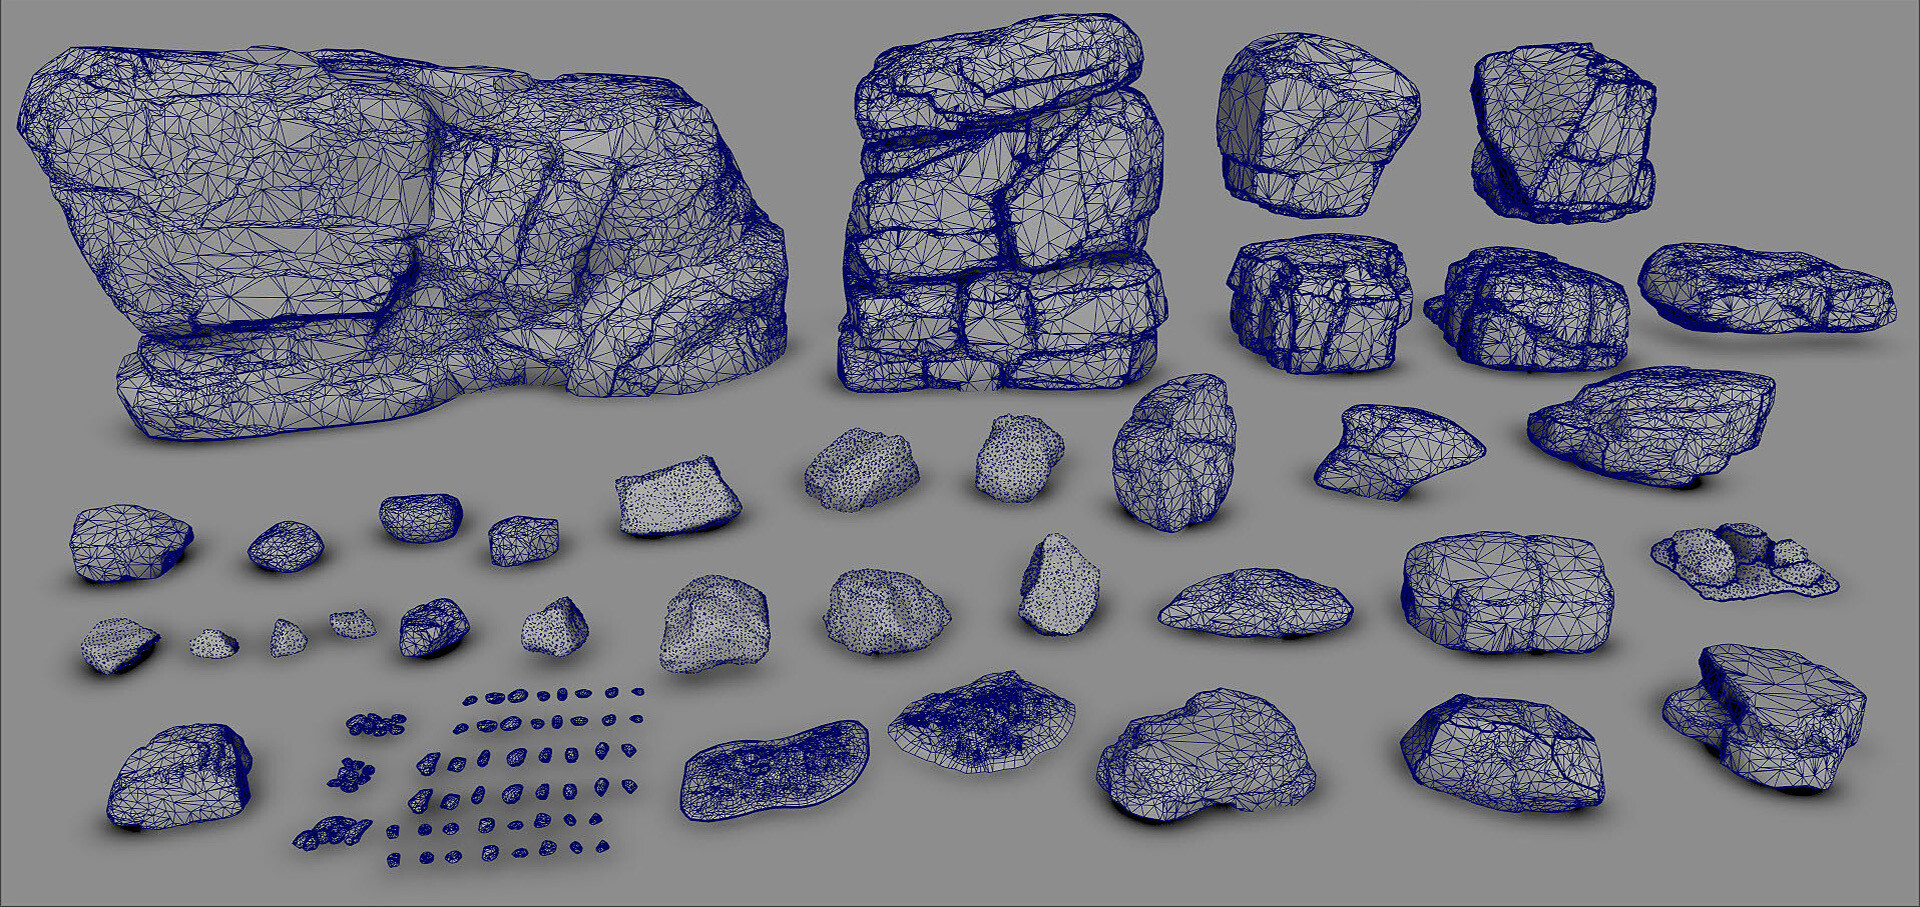
And here is the wireframe for this set if that's something you're interested in.

Here's a shot of some of the rocks working from Tommy's Dam. Anthony took this kit and built out a really nice environment blending all of these assets together!
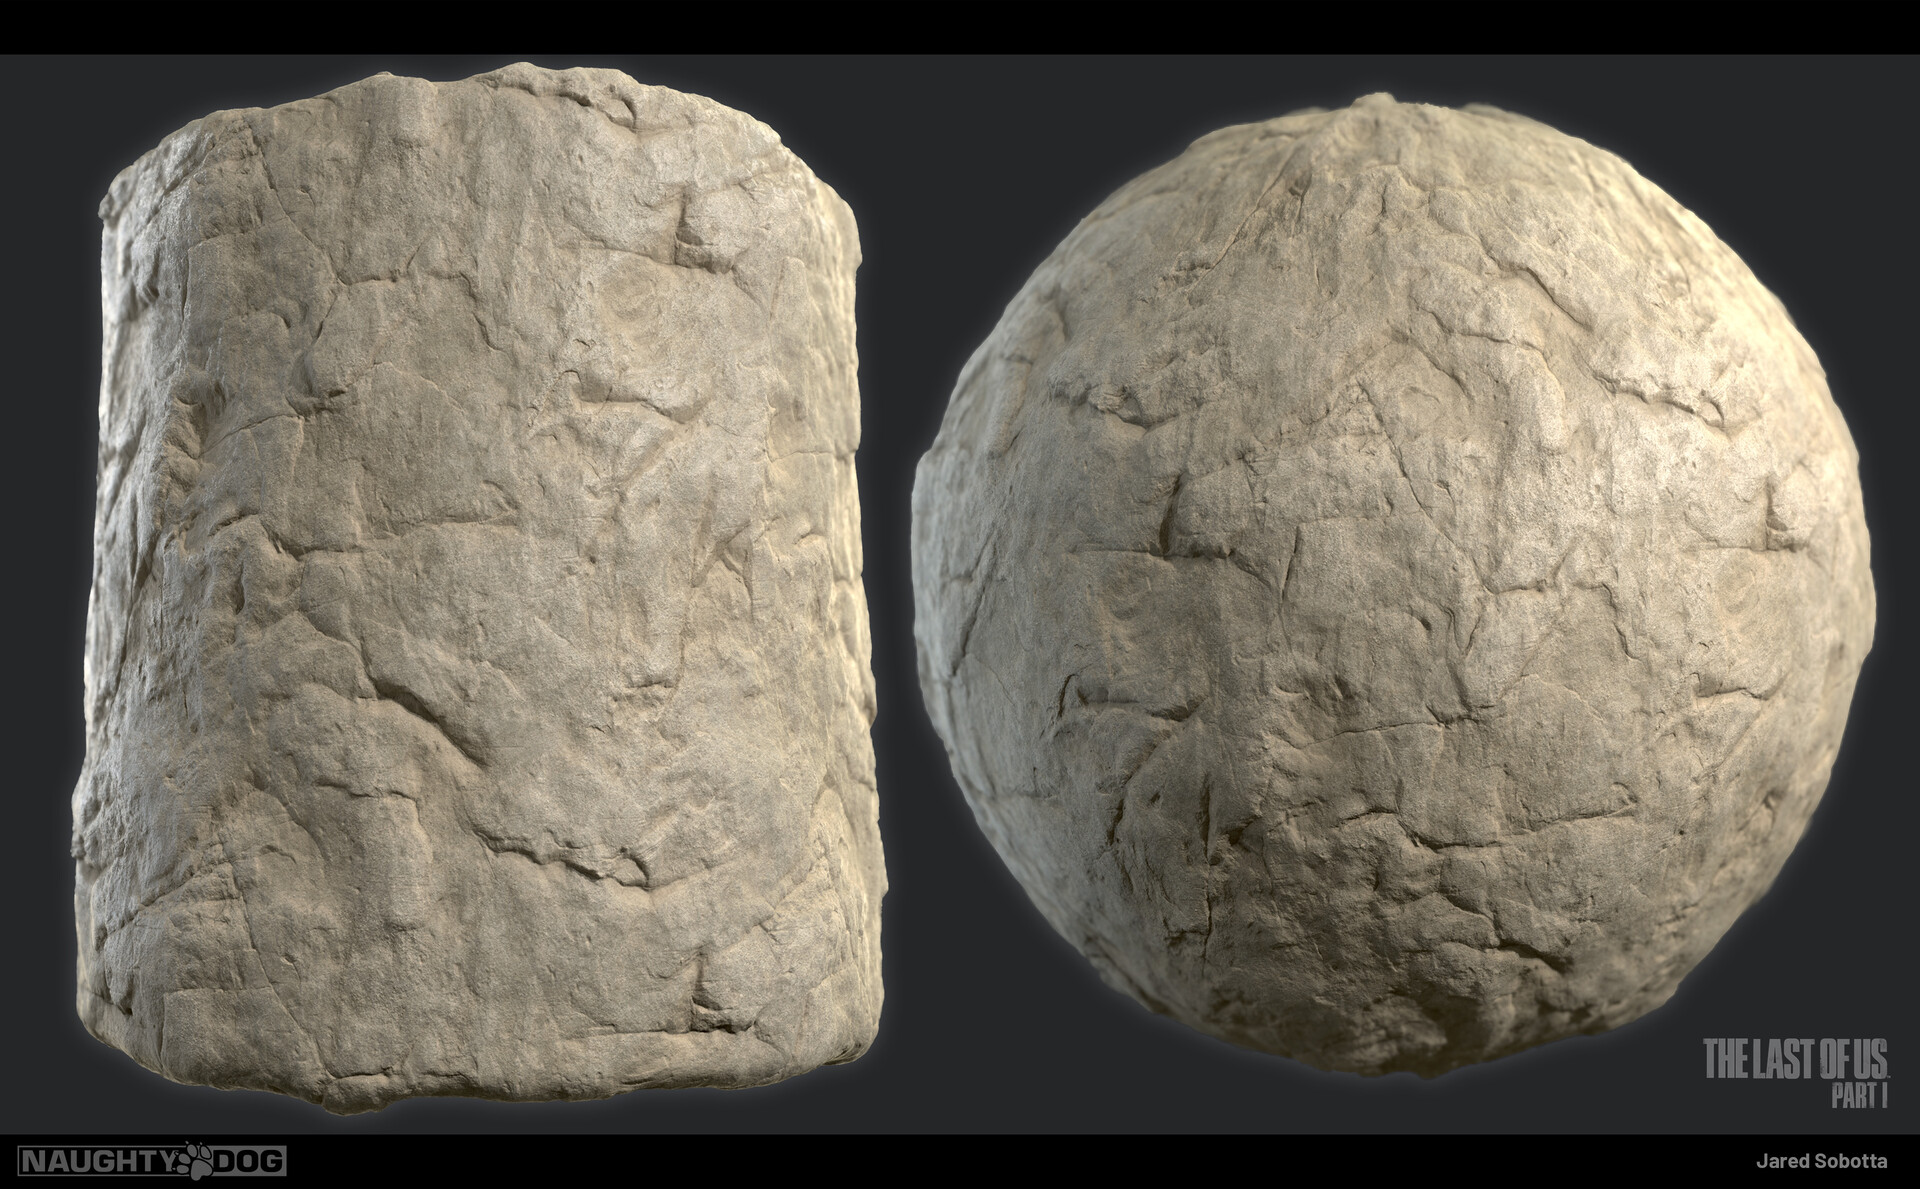
Let's check out some of the tileable textures I made. For this texture, I was aiming to simulate a really smooth, eroded rock with some undulation. This is the noisier version.

Next up is a rock with some Lichen pops.
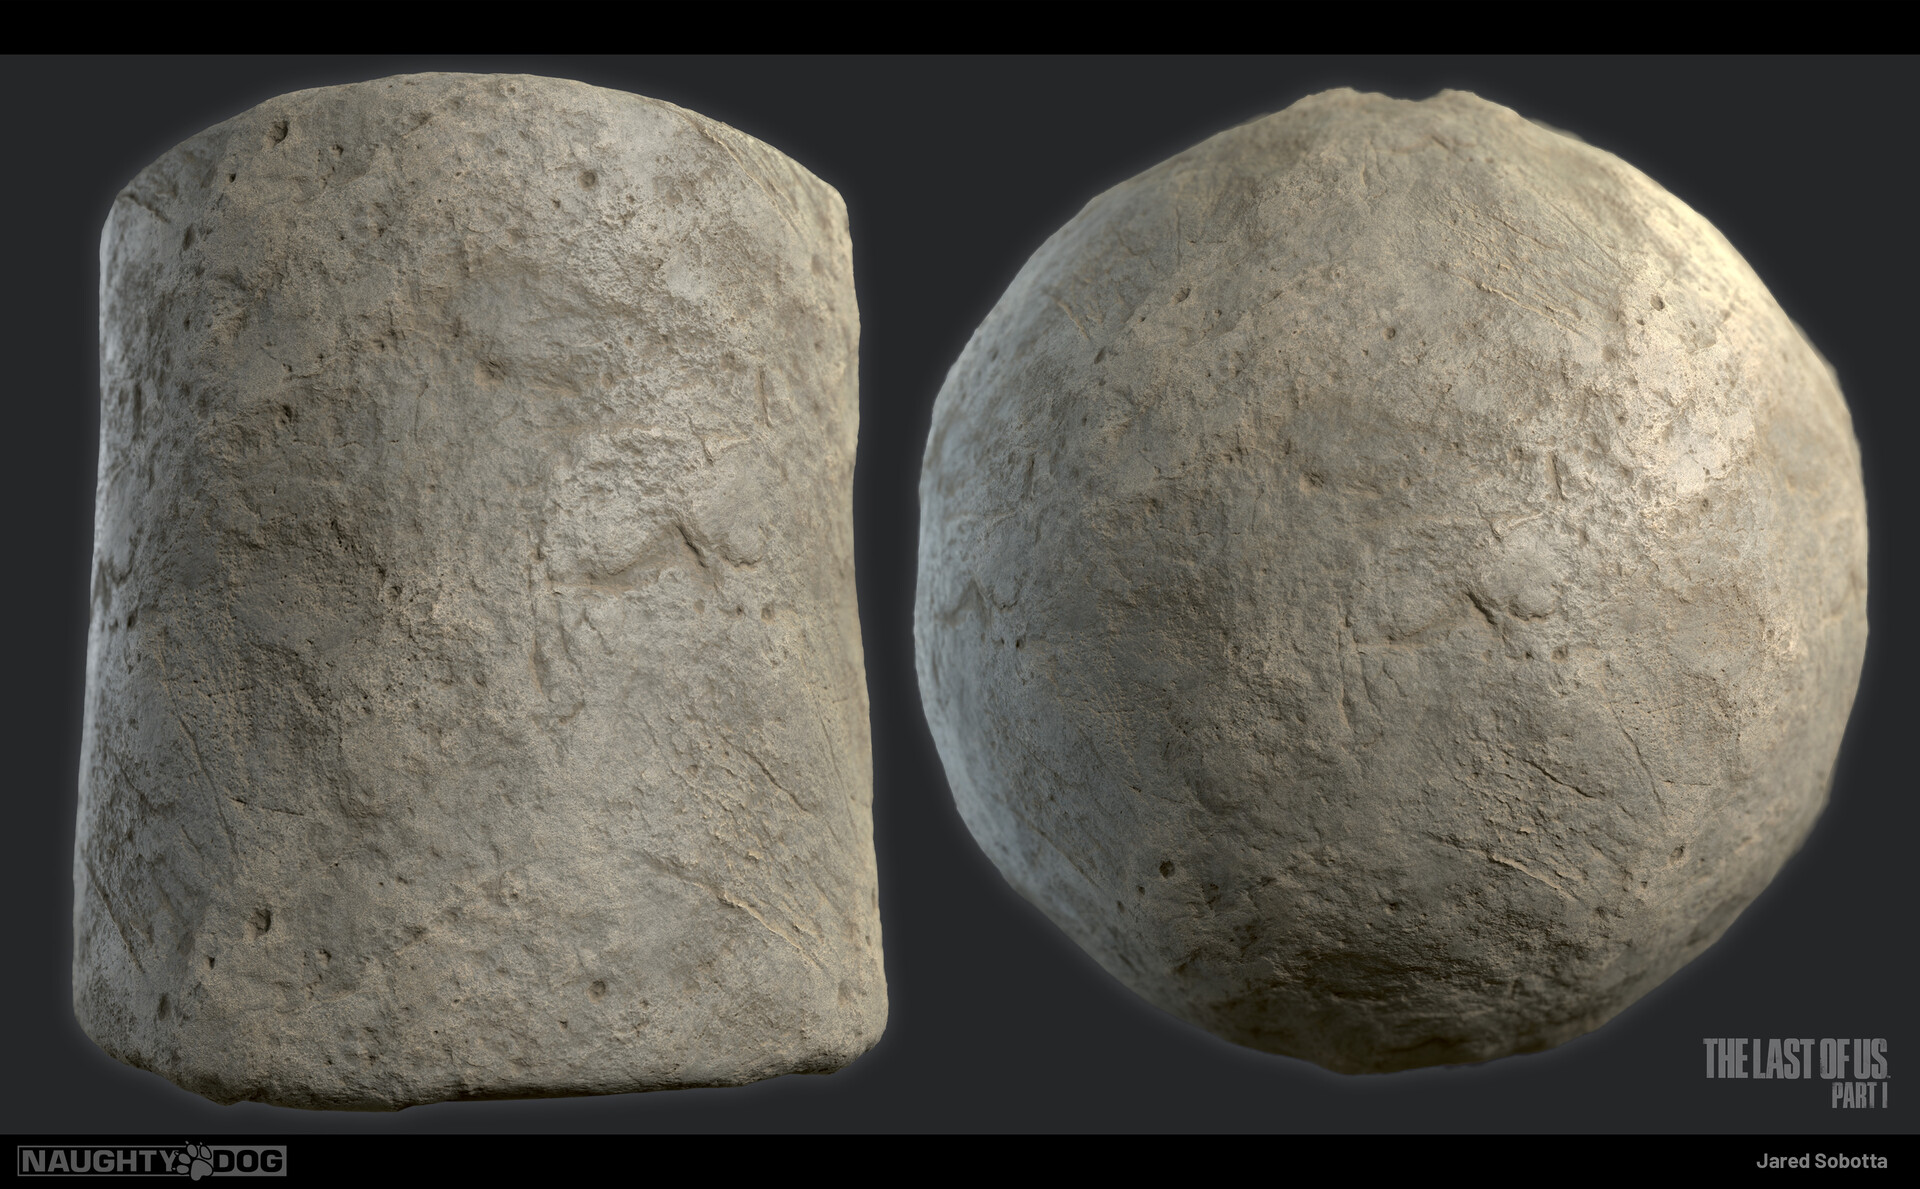
And finally, a smoother base rock material I use on the Majority of the rocks in the Library.

Here are two of the sculpts I created for the rock materials I made. These are a combo of hand sculpting and alphas. I really enjoy sclupting rocks, It's something I'm very passionate about.

Next up is Texturing, This graph is very simple. I pretty much just add in micro detail to my sculpts for the height map. I try to recreate the fine surface detail as much as possible. I then start the Albedo by sampling real-world references!

This .gif shows the Height additions in Substance Designer!

This .gif walks through the albedo creation process.

Here is a written example of how I created my albedo texture. You might find some helpful tips here but it's usually pretty simple texturing these up!
Finally let's look at the large rock formation Anthony Sculpted, and I baked/textured.

Here is the 1x1 sculpt used for the Macro normal of the asset.
In this video I show blending up this rock in Maya before getting it into game. You can see I have layers for another rock material, grunge, moss and layers for wetness!
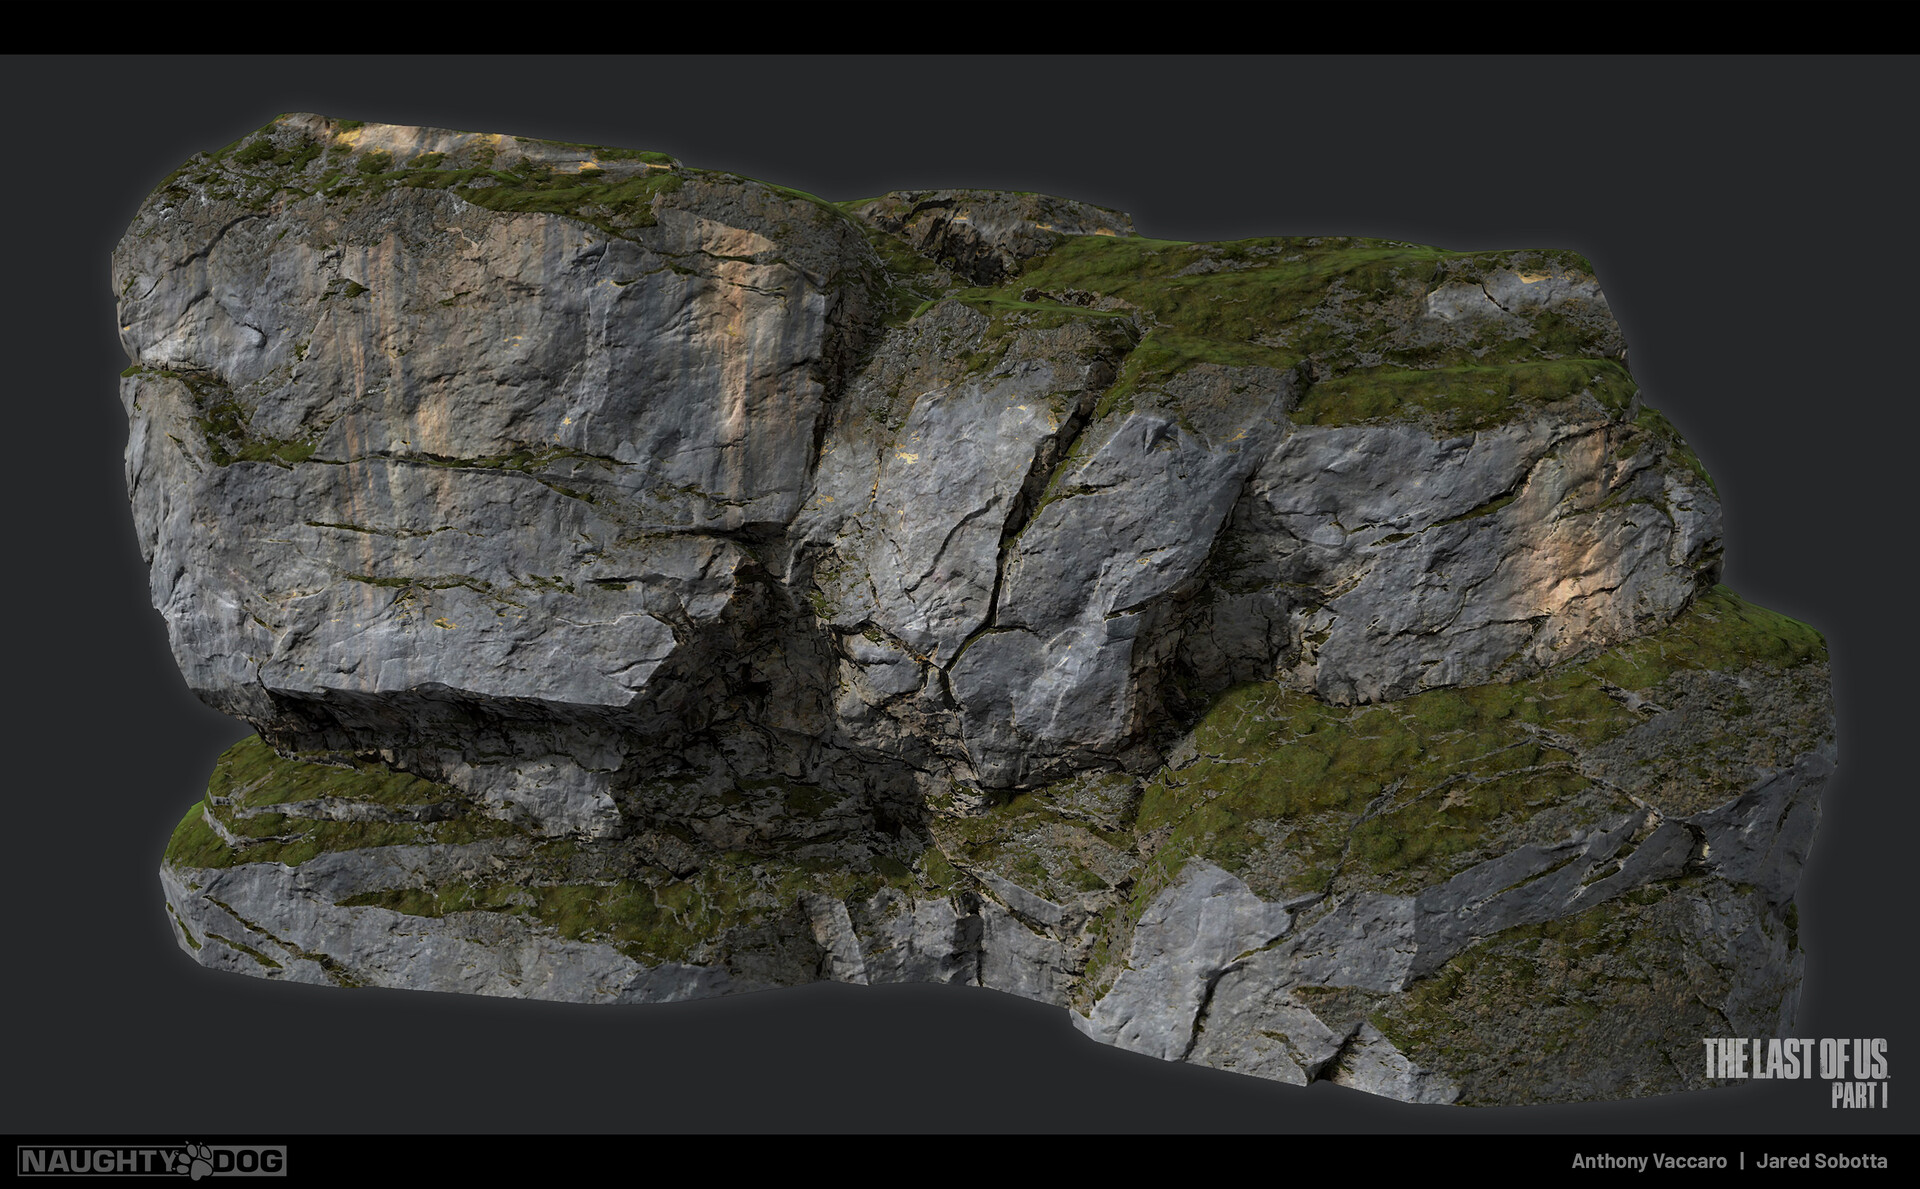
Finally, here we have the final outcome in the game as a standalone asset!
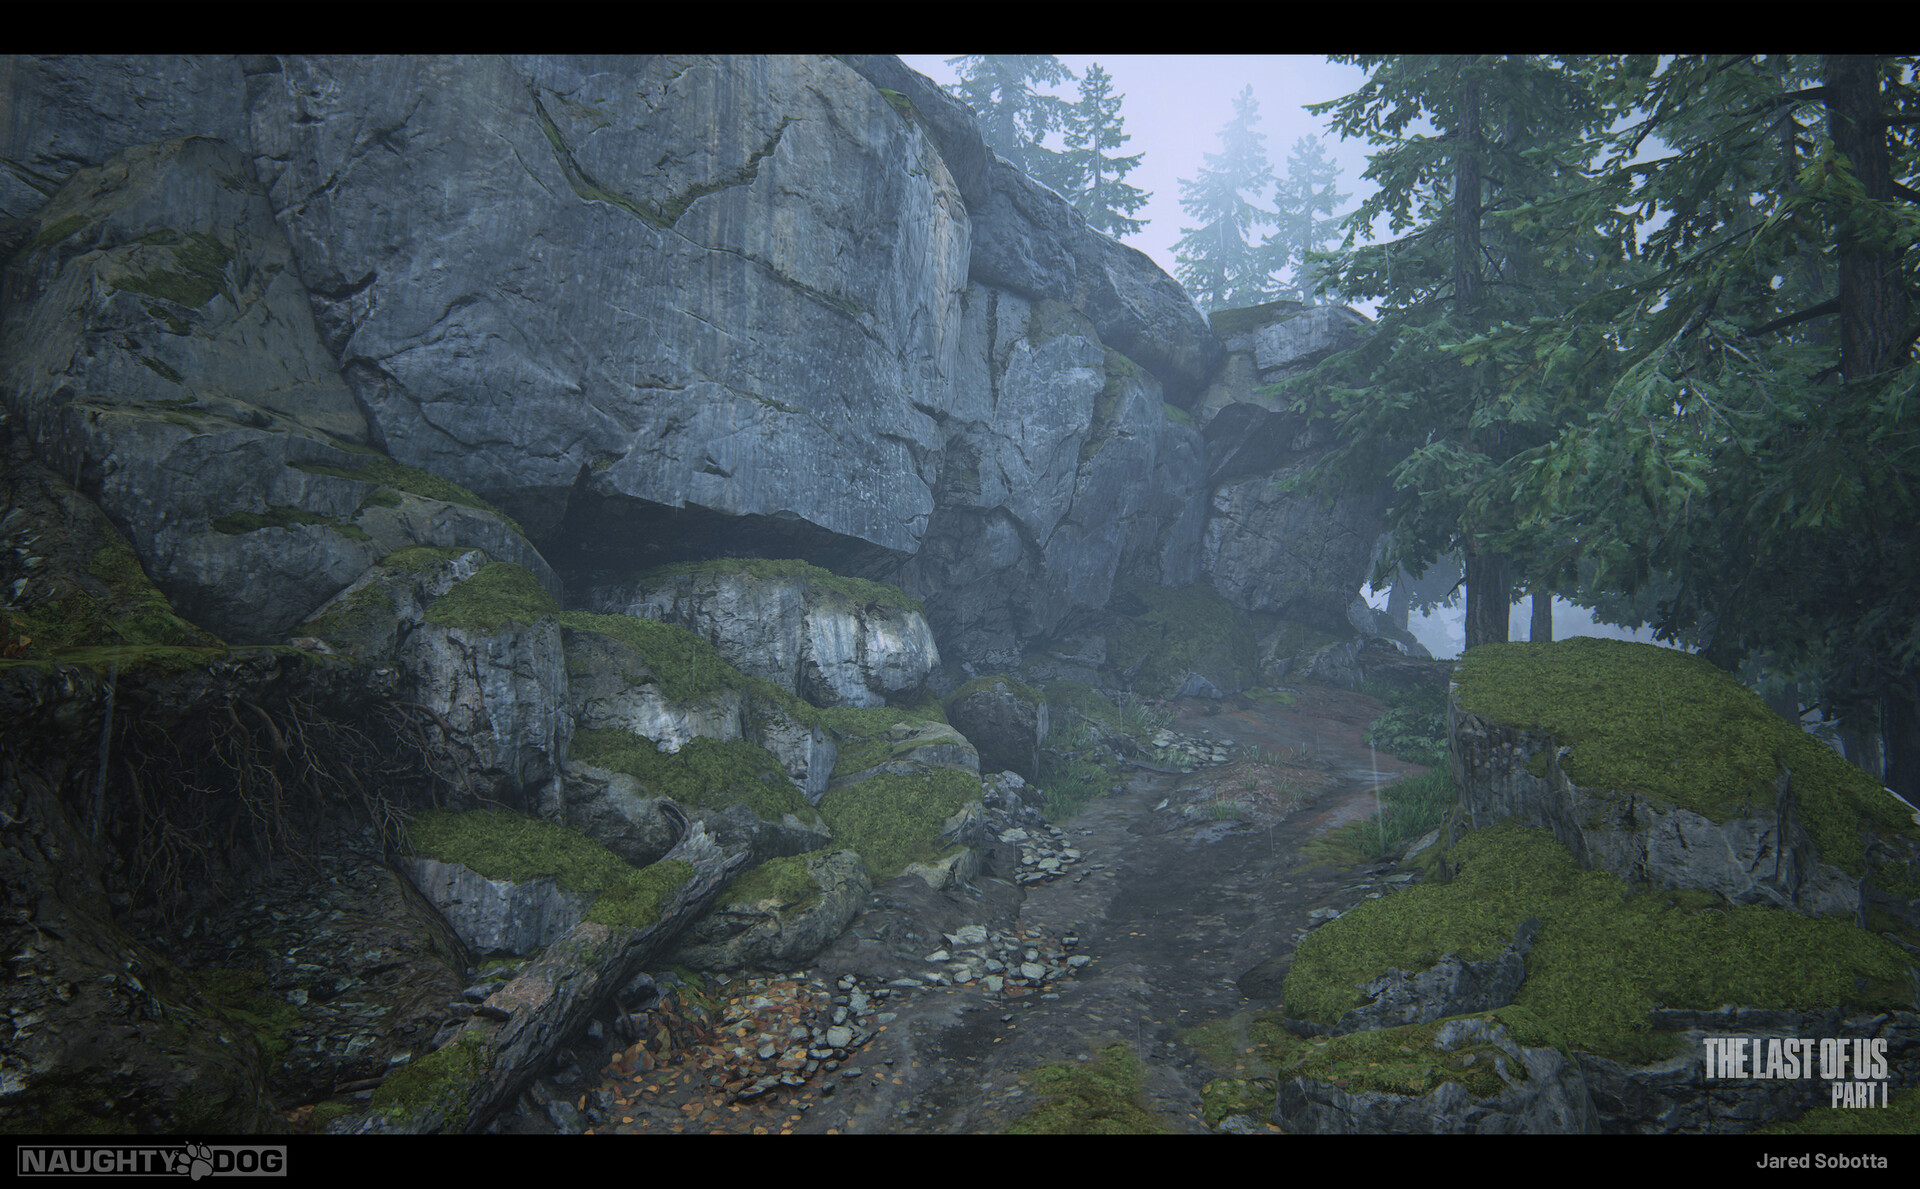
The same large cliff build around another chunk of the level

Here is another shot of the rocks build around the river's edge

The same shot with some more boulder clusters

Here is another shot in the later parts of Tommy's dam. Shout out to David Budlong and Josh Evans for their work here! Thanks for reading!
And Finally here is the GDC talk @Jonathan Benainous and I did for the game! Check it out here for more about the content above.