Brick and Concrete Generator
This gallery is a breakdown of the Brick and Concrete generator I did for The Last of Us: Part 1. I go in-depth over my workflow to generate my Substance graphs for the work on this page. At the very bottom, I attached @Jonathan Benaninous and I's GDC talk, which goes a little more in-depth. But the Concrete breakdown is a new subject matter I haven't posted before!
For the level, Alongside my modeler, Anthony Vaccaro we took this level from start to finish. The work I did consisted of texturing, sculpting quite a few rocks, creating shaders, all blend work and application of the shaders, uv’ing, And additional modeling work. As always video games are a team effort, a lot of textures and assets are from throughout the game. Thank you to the various other artists on the Naughty Dog team!
-Environment Art: Anthony Vaccaro
-Environment Texture: Jared Sobotta
-Wides: Leonard Williams
-Level Lighting artist: Val Sinlao
-Cinematic Lighting: Jeffrey Lee, Haley Jones, Quentin Frost
-FX: Taylor Duval
-Scripting: Phong Trinh, Andrew Frost
-A very special thanks to our awesome foreground team for all the bumpables, destruction, and much more!
-A big thanks to tech art and programming for their imperative work wrangling us artists in, and keeping things running so smoothly. We couldn't ship these types of games without your dedication and knowledge.
-QA: Richard Cottrell
-Visibility: Ashleigh Dale
-Production: Mariah Morris, Zach Gonzalez
-Graphics: Hailey Del Rio and our entire graphics team
-Our fantastic outsource team as well as all of our vendors!

Here is a breakdown of some of the Materials I used to texture Tommy's dam. We'll focus on the Concrete and Brick Generators I created.

For the Brick in The Last of Us Part: 1 we chose tiling dimensions of 6x20. Here you can see all my different brick styles can blend seamlessly together. Done this way, my one damaged state brick blends with any of the undamaged variations.

Here is a shot of the pumphouse

So let's checkout some parts of this graph that help me build this generator. on the very left we have the different patterns to plug in. In Blue is all of the sculpting for the Brick. In the lighter blue/green we have the grout creation.
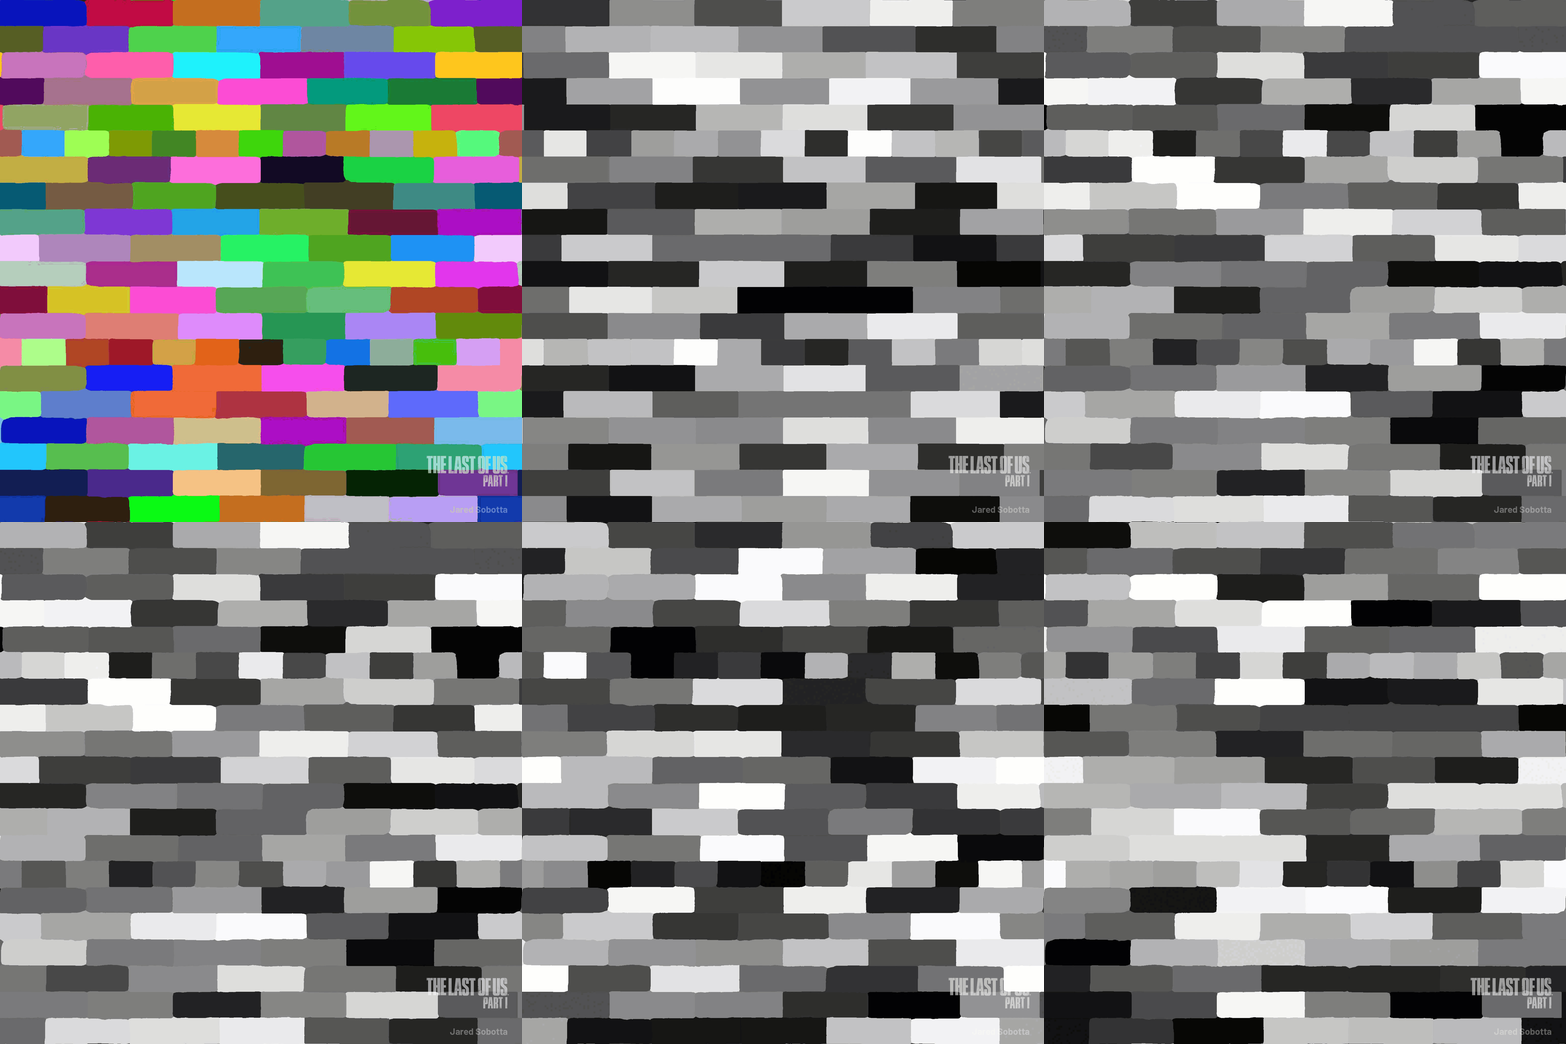
First I start by creating my pattern and generating my flood fill masks.

Next, I move on to the large-scale detail sculpting away at the overall shapes of the bricks.

Next I focus on the micro detail. This detail aims to replicate the micro detail you feel when running your hand over a brick

After the brick is done, I create the grout base by combining some noise to get a rocky feel. Then I focus on extracting where I want the grout to be. Notice I mask out the center of the bricks

This is how I created the large grout overhangs. Starting with a very chunky noisy height. I then mask out around my grout lines.

Now that I have the initial shapes for the grout overhang. I then use Non-uniform blur Greyscale to pull the grout downwards to simulate some gravity.

With my brick, grout base, and grout overhang completed, I combine them all using max lighten and levels to control grout height.

Here I begin my Albedo map by using the masks I generated earlier to sample real-world values. From there I just layer in detail focusing on color and contrast. Think of ways you can use your height sculpt to create masks for your Albedo.
Here I am quickly Vertex painting my wall in Maya. We have 6 color channels. RGB1 and RGB2. Between those color set we can easily paint on moss, damage, efflorescence, mold, etc.
You may also notice that I use transfer attributes on the brick caps

And here is the outcome from that chunk of wall

Reusability is key, I can quickly generate other patterns and trims

Some shots of the different patterns

Some shots of the different patterns

Here you can see I use the same graph to repurpose and generate different materials
Now let's checkout the concrete work I did for Tommy's Dam!
Here is a video of me blending and integrating the concrete of the sluice gate. Blending damage, grout lines, algae, cracks and efflorescence.

And wireframe if you're into that kinda thing. (Modeled by Anthony Vaccaro)

One of the large scale tiling lines I used to get some breakup. You can see this blending with the damage in the previous image.
Here is a video showcasing the Dam itself as well as the dam building.
This is a quick video showcasing the blend work on the dam. I reference a lot of real-world examples to get an accurate look for grunge/grime.

The sculpture on the right is the large-scale normal for the dam concrete cladding in the videos above.

Let's quickly chat about the concrete generator. Using the same Brick graph we made above. I repurpose it's content to create this formed concrete look. For the dam I wanted a really ugly grout look. Making it look old and worn.

Here is the height sculpting, as you can see it's just a different pattern than the brick, massaged to my liking. I then add a wood grain to the height to give the formed look.

Lastly, I create the Albedo map the exact same way as the brick. Always sampling from real-world reference. The only addition is the wood grain for the color.

The stacked outcome
And Finally here is the GDC talk @Jonathan Benainous and I did for the game! Check it out here for more about the content above.